Monthly Archives: September 2016

Phoenix Children’s Photographer- “Lollipops and Two Year Portraits”

Cute smile of two year old boy with his lollipop for two year old portrait photos

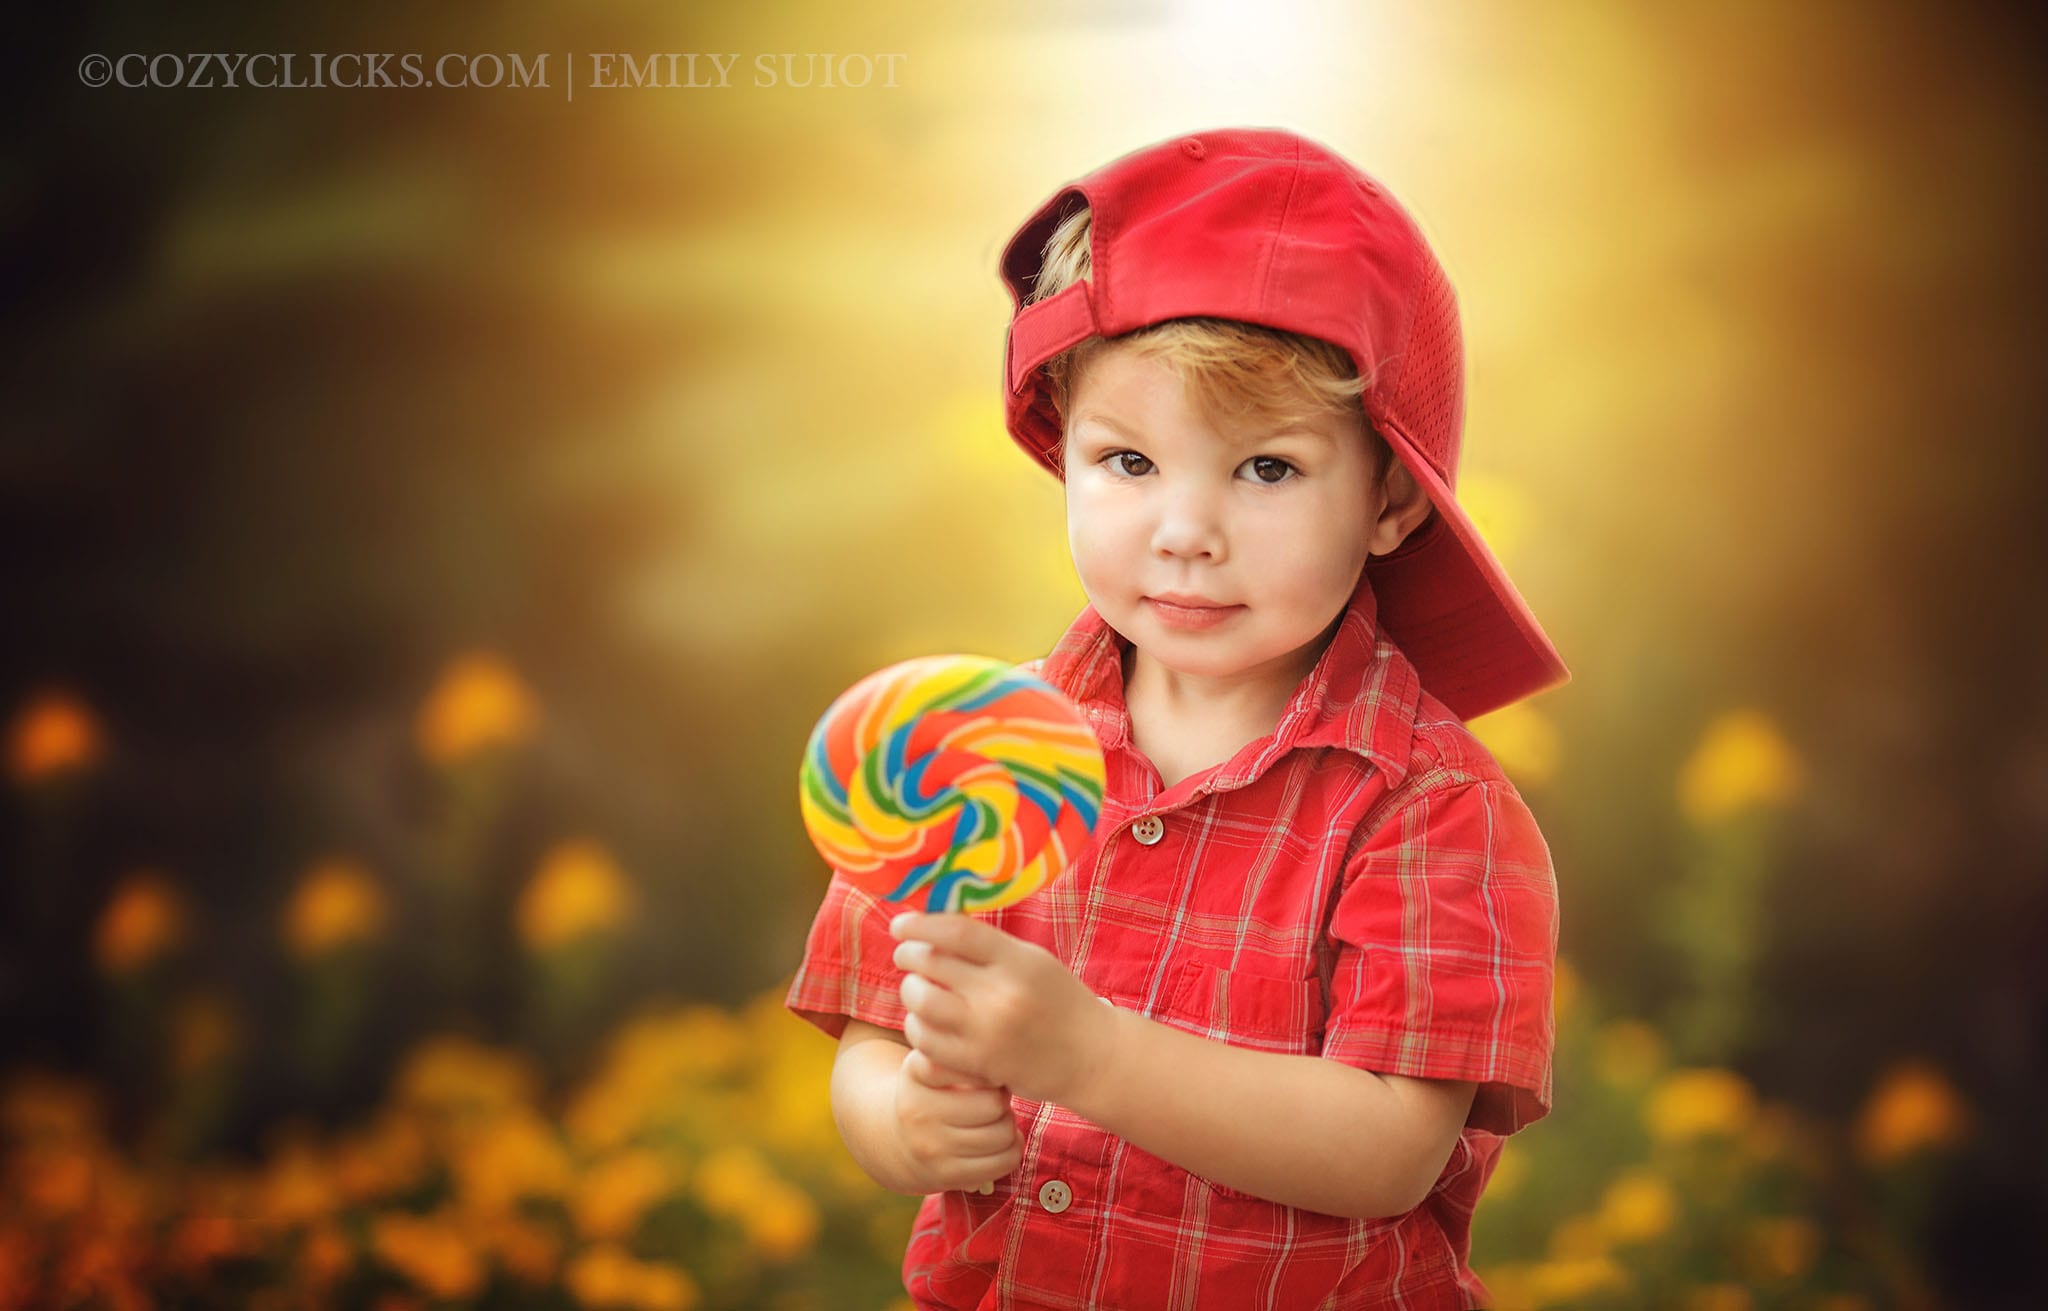
How to Take Great Two Year Portraits Two year old portraits are important because they mark an important milestone! So much has happened in the past two years.  They’ve learned to sit, walk, talk and now that they are two they are probably even running!  Read below to find out how to make your two...

0 comments
Add a comment...

Your email is never published or shared. Required fields are marked *

    3 Easy Ways to Make Your Photos Look More Professional

      You probably take pictures all the time and you are looking for easy ways to make photos professional looking, am I right? I’m sure you take photos on your phone or your new DSLR camera, but they don’t always come out looking the best. Whether you are a new photographer or just a parent...

    0 comments
    Add a comment...

    Your email is never published or shared. Required fields are marked *

      Phoenix Family Photography at Papago Park

      Mother and two daughters pose in this portrait taken in the desert in Phoenix, AZ

      Red Rocks and Beautiful Desert Sunsets Photography at Papago Park {Phoenix}   The Location: Papago Park One of the most requested locations for Phoenix family photography sessions is Papago Park.  Just look at the photos and you can clearly see why. Papago Park is a great location for family photography because it gives great variety....

      0 comments
      Add a comment...

      Your email is never published or shared. Required fields are marked *

        How to Add Sun Rays in your Photos in Photoshop

        How to easily add in sun rays in Photoshop

        Wanna Know how to add sun rays in your photo by using Photoshop? Then you are in the right place! Keep reading to learn a super easy way to give your photo that little bit of creative flair by adding in some sun rays to your picture. You can scroll right down to the bottom...

        22 comments
        Add a comment...

        Your email is never published or shared. Required fields are marked *

        • MonikaNovember 5, 2018 - 12:43 pm

          Emily you are the best! I am addicted to your videos 🙂 I love them, my editing has improved since I started watching your videos, thank you so much! I’m so happy I found you!ReplyCancel

        • JonDecember 7, 2017 - 2:08 am

          What a great little tutorial.  I’ve been looking for a simple way of doing this for ages.  Thank you!!ReplyCancel

        • JanetMay 14, 2017 - 7:48 pm

          I can’t get the mark layer to move.  I have tried to drag it, but, it won’t move.ReplyCancel

          • Cozy Clicks PhotographyMay 17, 2017 - 10:26 am

            Hey Janet! Make sure you are moving the layer before you close out the gradient box. That should help:) -EmilyReplyCancel

          • Cozy Clicks PhotographyMay 17, 2017 - 10:26 am

            Hey Janet!
            Make sure that you move the layer BEFORE you close out the gradient pop up box. That should do it:) -EmilyReplyCancel

        • SandiApril 26, 2017 - 10:55 am

          Hello Emily,
          I have a question for you. When I apply the layer after I have followed your tutorial on sunrays, the rays are coming out dark and making my picture dark, whereas yours came out light. What am I doing wrong? Help please. Thank you!ReplyCancel

          • Cozy Clicks Photography LLCApril 27, 2017 - 12:48 pm

            Hi Sandi!
            A couple things might be happening- 1. This techniques doesn’t work the same on all photos. I’ve found that images that start out a little darker get better results. or 2. Make sure that you are brushing off some of that soft light layer on the areas of your photo that you don’t want to be light.
            Hope that helps a little . Good luck!
            -EmilyReplyCancel

        • Renee GordonApril 12, 2017 - 9:55 am

          Amazing tutorial!ReplyCancel

        • SilvinaJanuary 31, 2017 - 10:14 am

          Great tutorial!!! thank you!!ReplyCancel

        • IreneOctober 31, 2016 - 4:52 pm

          Thank you so much for this tutorial Emily! I can’t wait to try it out! :o)ReplyCancel

        • Gonzalo VerdejaOctober 31, 2016 - 3:52 pm

          Love it!!! Thanks for sharing. Your work is stunning Emily, congrats!!ReplyCancel

        • Negoescu OctavianOctober 31, 2016 - 3:51 pm

          Wow.. this is an amazing little tutorial! Looking forward to test it out! Thanks! 😀ReplyCancel

        • Heather NeilsonOctober 31, 2016 - 3:42 pm

          Great tips for sunrays (especially for fall and winter)! I will definitely try this one out!ReplyCancel

        • Kelly LoefflerOctober 31, 2016 - 1:35 pm

          Thanks for the very informative photoshop tutorial on sun rays.ReplyCancel

        • Ekuyik Udah EtimOctober 11, 2016 - 6:23 pm

        Styled Children’s Photography: Phoenix Children’s Photographer

        Styled children's photo session of young girl with vintage chair and flower crown

        Styled Children’s Photography Phoenix Area Family & Child Photographer The Session This session was  styled children’s photography in Phoenix.  Children’s sessions are always some of my favorite to take, but when you add in some style it makes them extra fun!  Styling usually included some additional props, hair and/or make up and certain accessories that...

        0 comments
        Add a comment...

        Your email is never published or shared. Required fields are marked *