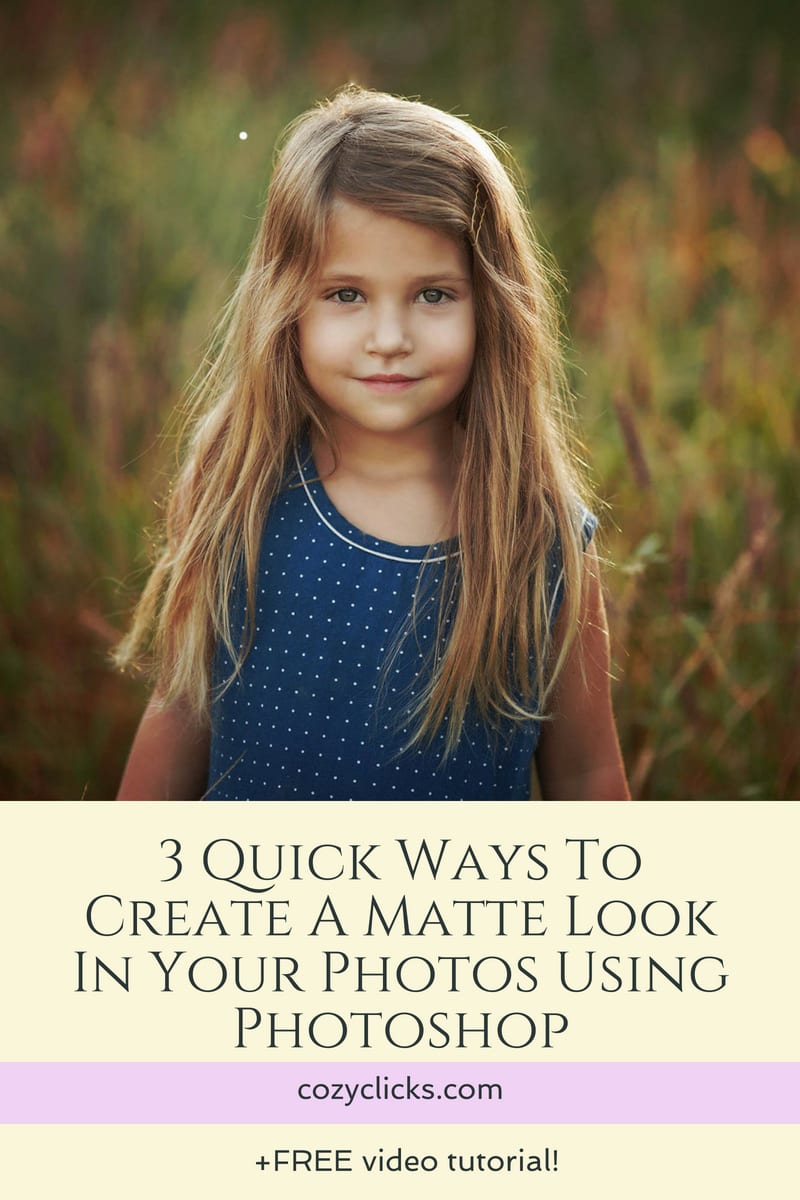
Would you like to know ways to create a?matte look in your photos using Photoshop? Matte is a fun look to use and play around with on your photos. There are several ways you can create a matte look. If you are unsure how to do this, keep reading and I will share with you 3 quick ways to create a matte look in your photos! The cool part is, you can use one, two or all these techniques together to really give you creative control over how you want the matte in your photos to look!
1. Use Curves
To create a matte look using curves, first you will need to create a new adjustment layer on the bottom right hand side and select “curves”. Once the curve pops up, left click the point on the line on the farthest left corner and drag it straight up. Next, choose a second point on that light slightly higher, left click and push that point DOWN. Finally, choose one more point on that curves line a little higher than the last one, click and push that point UP. Your curve will look something like this:
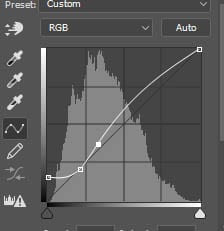 Don’t worry if it doesn’t look exactly like this. You can move any or all the points up or down more or less to your liking! Still confused? ?You can watch me do these steps in action in the video tutorial below.
 Before and After Using the Curves layer to Create the Matte Effect
2. Use The Levels Layer
This technique is easier ad will give you a less intense matte look. To create a matte look using levels, first you will need to create a new adjustment layer and select “levels” From here, you will simply drag the dark triangle on the output level slider to the right.
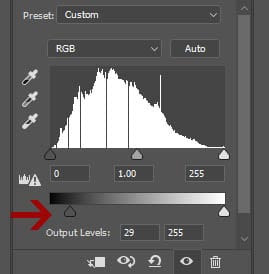
Unsure where that is? Just look at the red arrow above. That’s what you will be sliding over.

Before and After Using the Levels Layer Matte Effect
3. Use A Solid Color
To create a matte look using a solid color, first choose the solid color adjustment layer. From there you will select a dark gray shade (try out a few different hues for different looks!) You will notice that your entire photo is now that solid color-but don’t worry! Just change the blending mode from normal to overlay. Then adjust the opacity to your liking. If you’d like to see this technique in action, just watch me and I’ll show you how in the video below.
All these techniques will give you a slightly different matte look, however you can use them layered all together for a really intense matte feel, or just one. I hope you learned a little something and let me know below what technique is your favorite!

See more Photoshop Tutorials right here or subscribe to Cozy Clicks on YouTube to be the first to see the newest tutorials!
Â
Â