

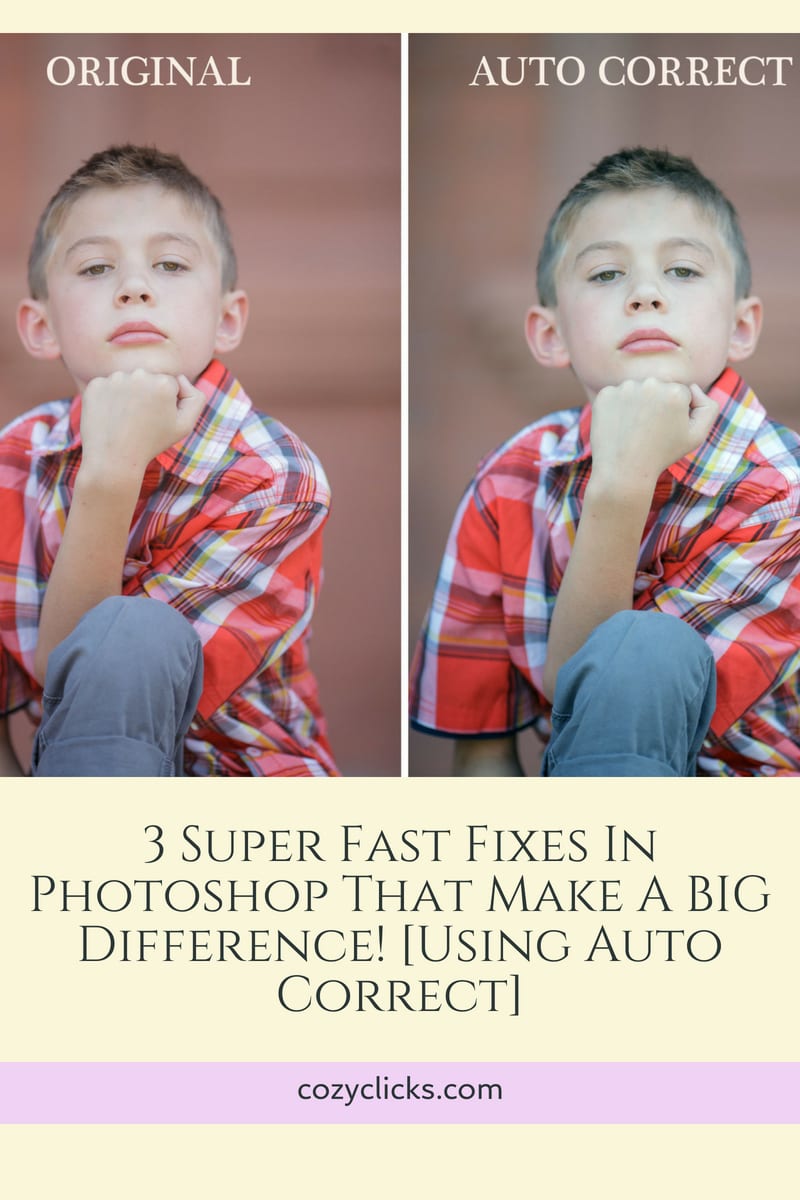
Photoshop can be so overwhelming at times. There are buttons and sliders and toolbars and drop down menus. It can make your head spin a little bit just looking at everything? that is available for you to use. Today I want to show you three super fast fixes for your photos you can use in Photoshop, that will make a big difference.
So if you are not sure what button to push when you get into Photoshop, or how you should be correcting your images, keep reading below to learn three super cool tricks. (More of a visual learner? You can scroll down to the bottom and see the short video tutorial teaching the same techniques)
These three Photoshop tricks are so easy and make such a difference. They are the perfect way to ease into Photoshop or add them into your workflow if you’ve been at it awhile.
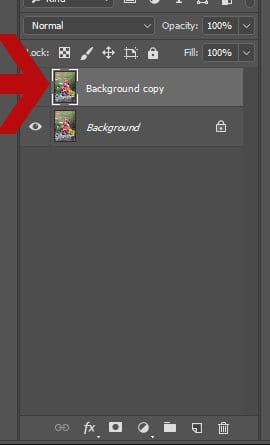
FIRST- apply each of these steps on a duplicated “background layer” ( To do this go to the Layer tab on the top left and then select “duplicate layer” from the drop down menu)
-
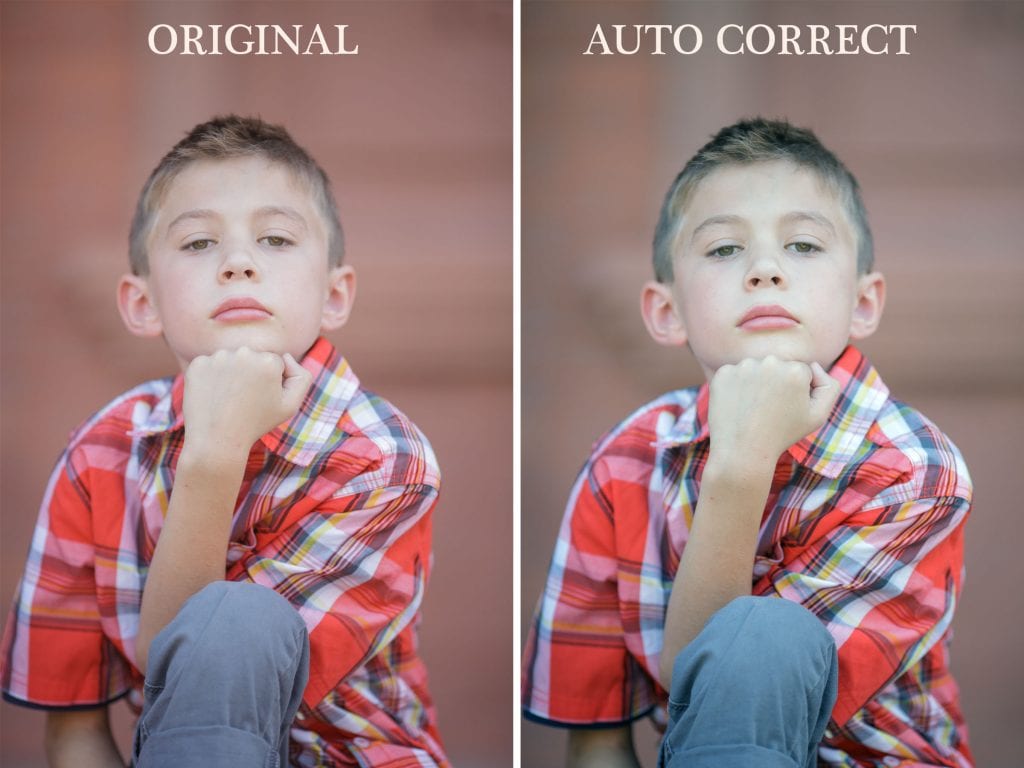
AUTO TONING
To have Photoshop automatically correct the tone in your images. Go to the upper left hand side and choose the menu item Image. From the dropdown menu select “auto tone” (it’s the third one down)
And BINGO! Watch as Photoshop instantly corrects the color tone in your image. (You can also hit the keyboard shortcut shift+ctl+L)
*Remember how I had you duplicate your layer first? Running auto tone on that layer will give you greater control and allow you to adjust the opacity if the effect is too intense.*
-
AUTO CONTRAST
Not sure about how much (or how little contrast should be in your photo). Let Photoshop help you with auto contrast. Again, go to the upper left hand side and choose the menu item >Image. From the drop down menu select auto contrast (it’s the fourth one down)
This will instantly change the contrast in your photo. You can also use the keyboard shortcut alt+shift+ctl+L
-
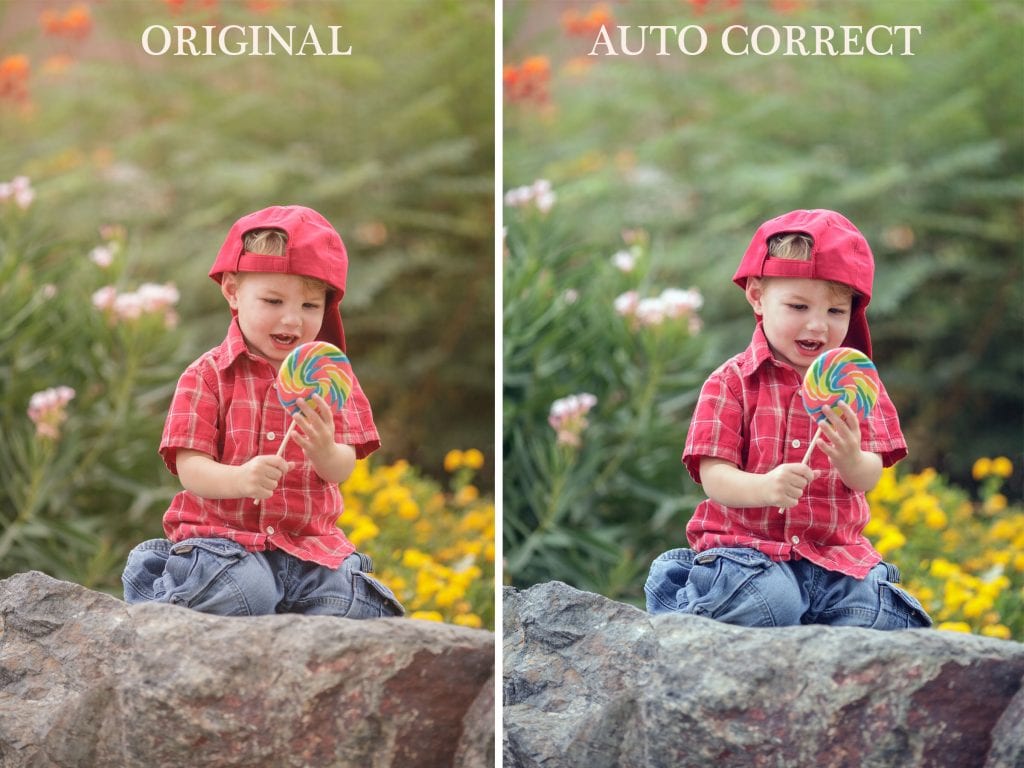
AUTO COLOR
Is this starting to make sense a little bit? Good. Because the last easy fix is super similar! This time when you go to the upper left hand side and choose the menu item Image. You will pick auto color from the dropdown menu .(Keyboard shortcut on this one is shift+ctl+B)
Watch what happens to your images this time.
Unhappy with the results or think they are just a bit too much? You can tone it down a little bit!
Before selecting any of these auto fixes make sure to create a new background layer first. Then run these same steps on that background layer. You can then adjust the opacity of that background layer to get just the right amount of auto fixing you like! Let me know in a comment below how this worked for you!
Still a little confused? You can watch me in action in the short video tutorial below and then try it on one of you own images!
Was this post helpful for you? If it was, it would mean a lot to me if you would share it with someone else it might help as well! Click on any of those colored buttons below to share on your favorite social media channel.
For even more Photoshop Tutorials check out my other editing posts here.


Just WOW! And thanks!