How to Get ISO to Work for You!
Setting your ISO is the third component in working with manual settings for your camera. Think of your ISO as your helper, after you have selected your shutter speed and set your f/stop. Your ISO setting measures the sensitivity of your camera’s image sensor.
What the Numbers Mean
An ISO of 100 is the lowest setting. It can be changed to much higher numbers depending on your camera. The higher you set your ISO, the more sensitive it will be to the light. The more sensitive to the light, the grainier your photo with turn out.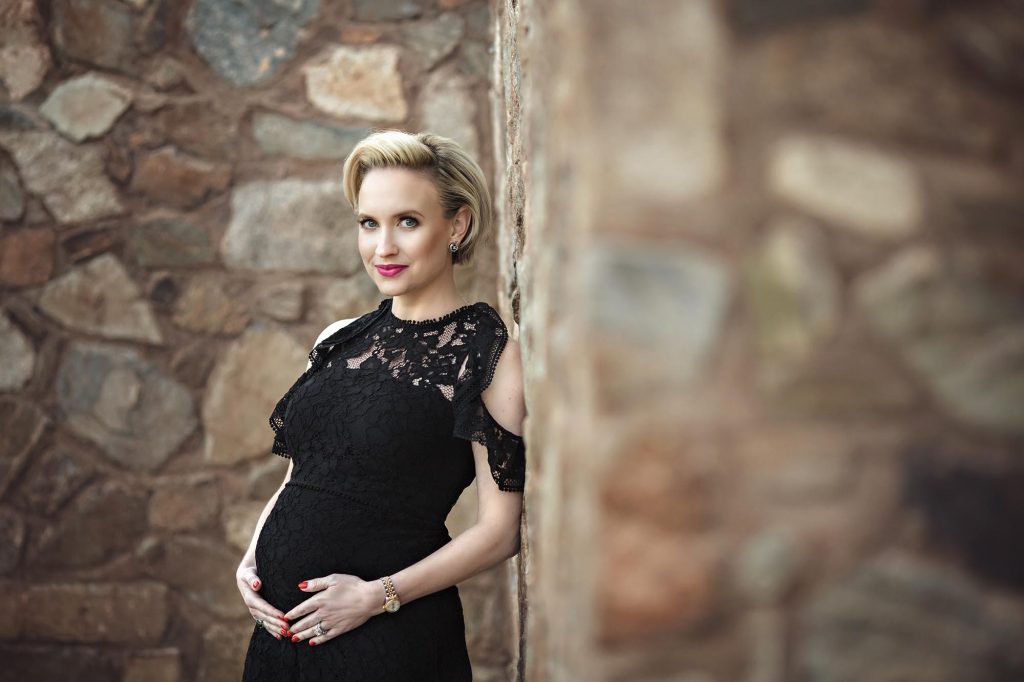
(This photo was taken outdoors with plenty of natural light. The ISO was set to 100)
Why Adjust the ISO?
So you might be thinking, well if my photo is going to be grainier with a higher ISO, why would I ever change it? The reason is this; if your shutter speed and f/stop settings do not properly expose your photo you need to compensate with the ISO. If not, your poorly exposed photo will end up looking grainier than if you had just increased that ISO!
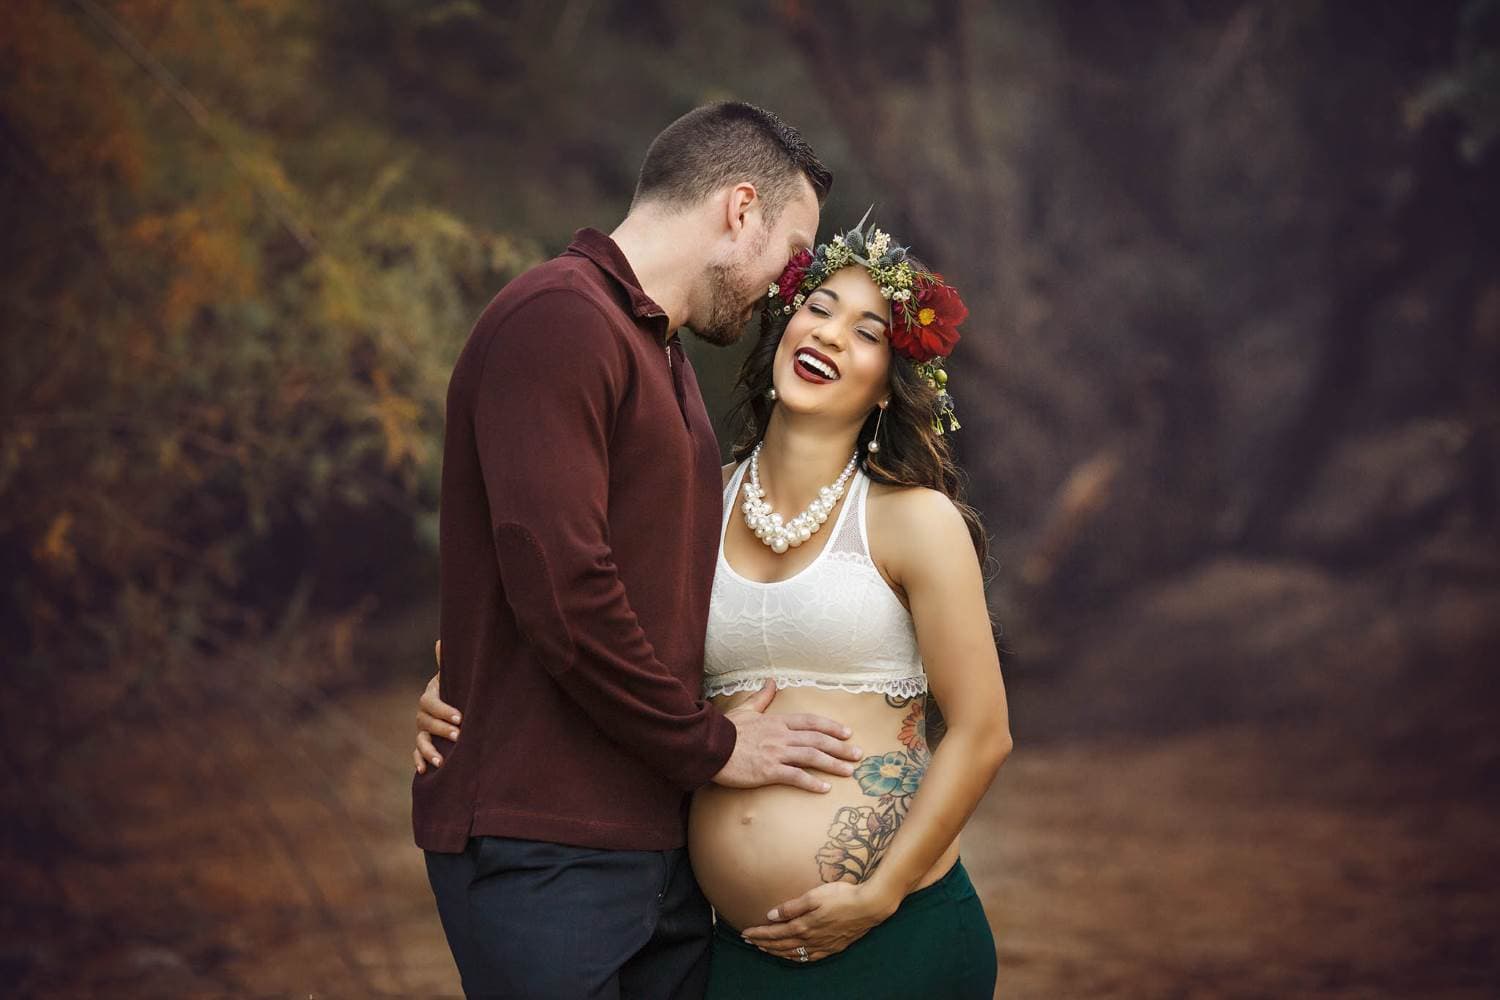
( This shot was taken outdoors, but in a heavily shaded area very close to sunset, in the low light situation the ISO needed to be set higher at 640 to allow for proper exposure.)
ISO: Your Helping Hand
As I mentioned earlier, just think of ISO as your helper. Once you set your aperture and shutter speed to where you?d like them to be, adjust the ISO so it is properly exposed. Don’t be afraid of setting it higher! It is there to help you get the proper exposure. A photo shot with a higher ISO that is properly exposed will be less grainy than a poorly exposed photo with an ISO of 100. Please note that some cameras are better at handling the ISO than others.
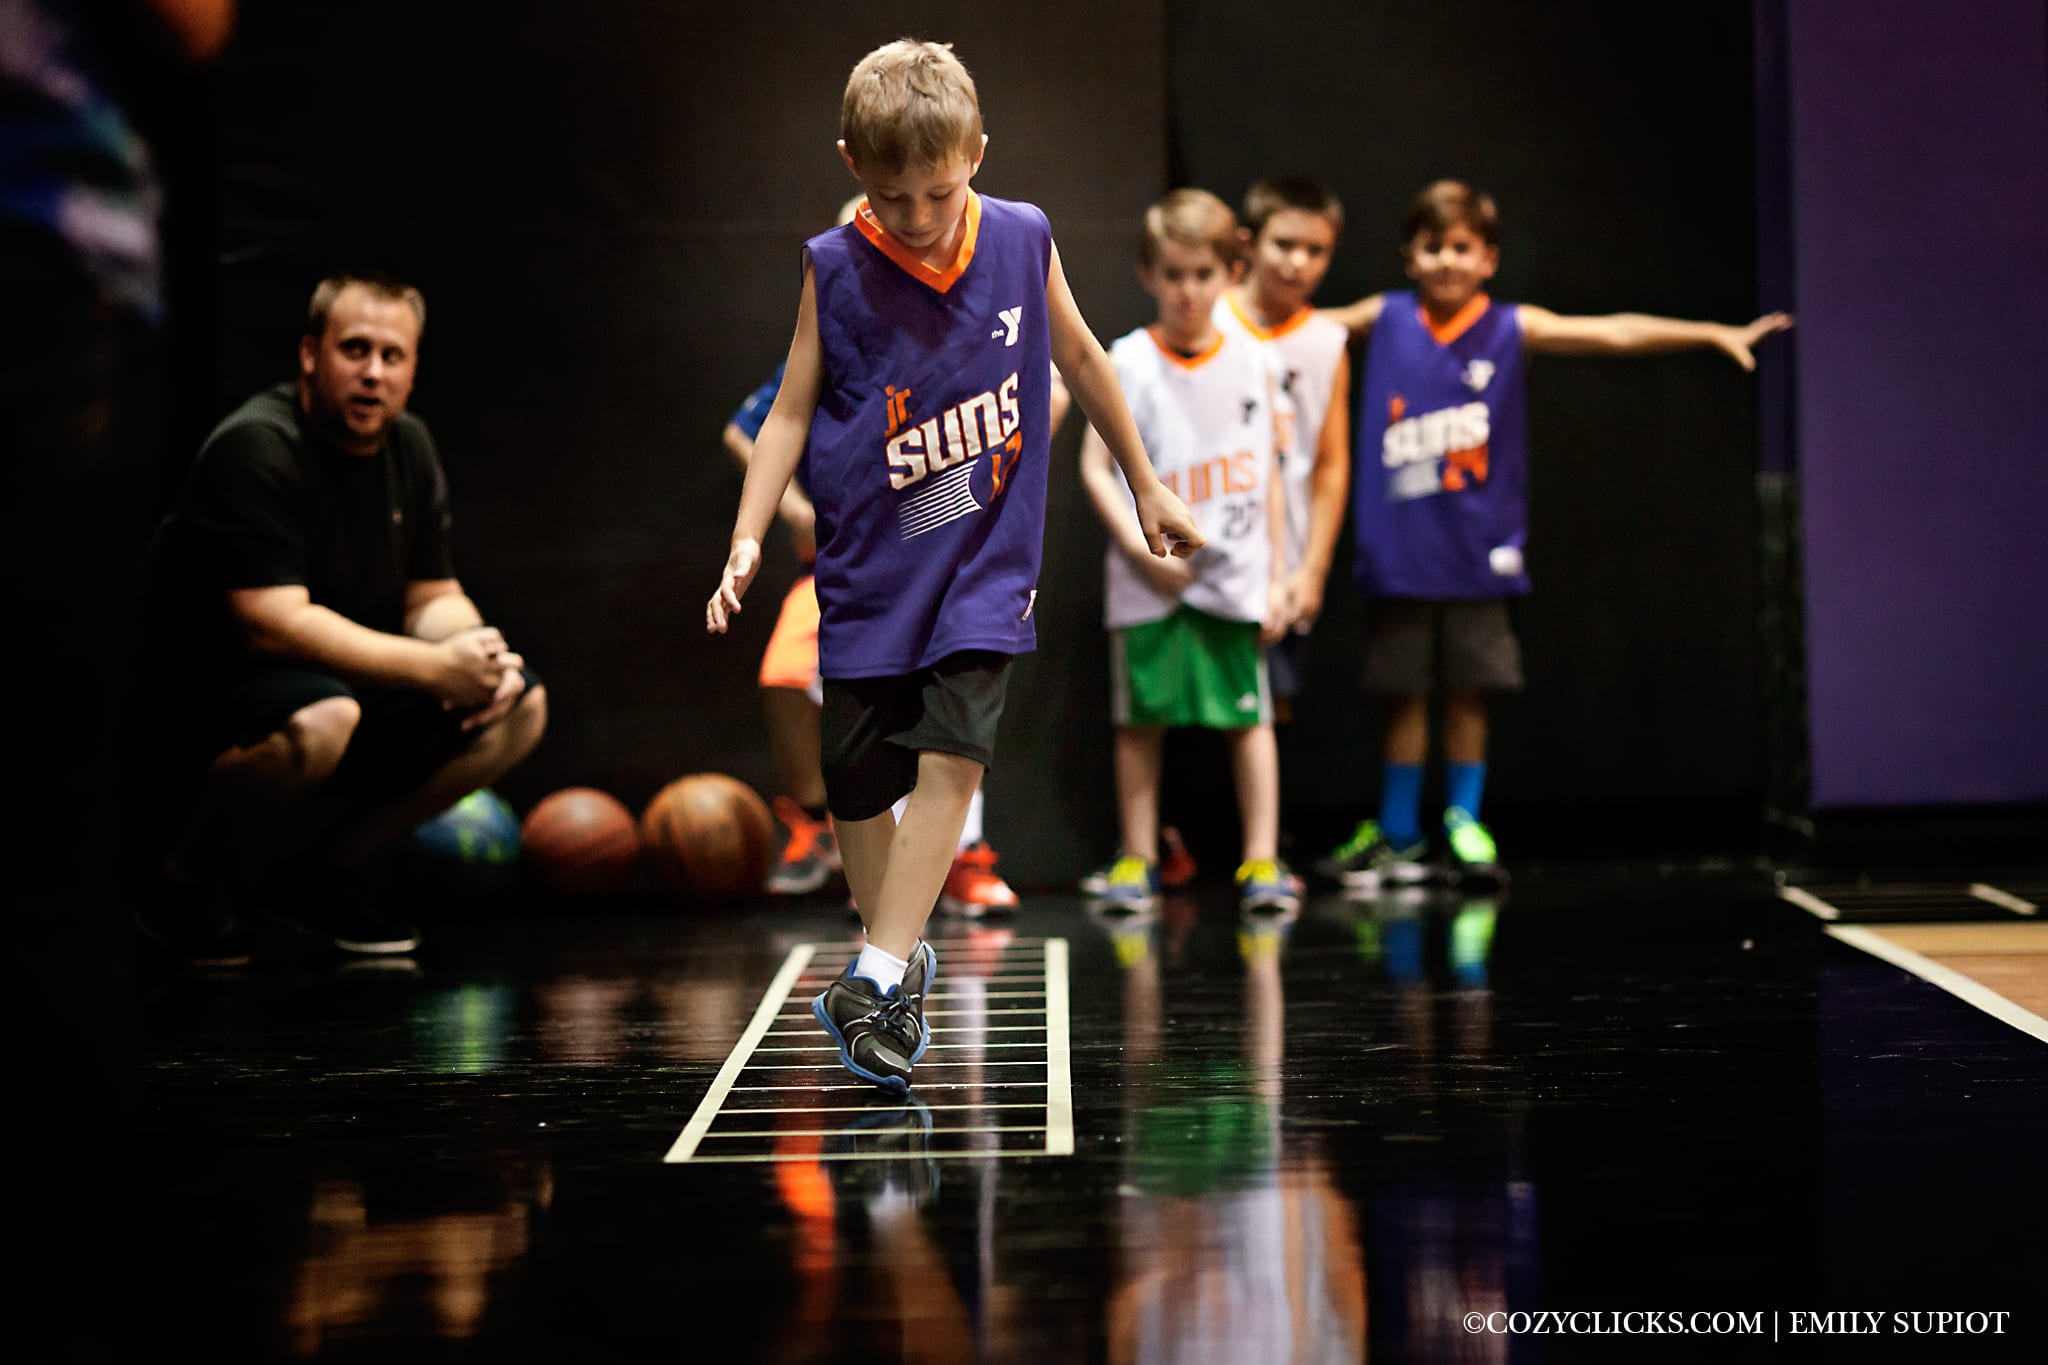
(For this shot, the ISO was set to 2000 in order to compensate for the low light indoor situation. Anything lower than that would have caused the photo to be very underexposed)
ISO is only one aspect in shooting in in manual. To really understand each part better you must also have an understanding of aperture and shutter speed. Not really sure how to put it all together, read here for my 4 step guide to shooting in manual mode.
So, don’t be afraid of increasing that ISO! It is there to help you get properly exposed photos. Still confused? Leave a question or comment below and we’ll try to help you out!
Emily
Â