

Ever wanted to take more control of your black and white photos when editing. That simple black and white adjustment layer is a good place to start, but there are other ways to turn photos into black and white in Photoshop too! Watch or read here to How To Edit in Black and White Using A Gradient Map adjustment layer to transform your photos in to black and white!
RELATED TUTORIAL: HOW TO CREATE A COMPOSITE PHOTO WITH A DIGITAL BACKGROUND
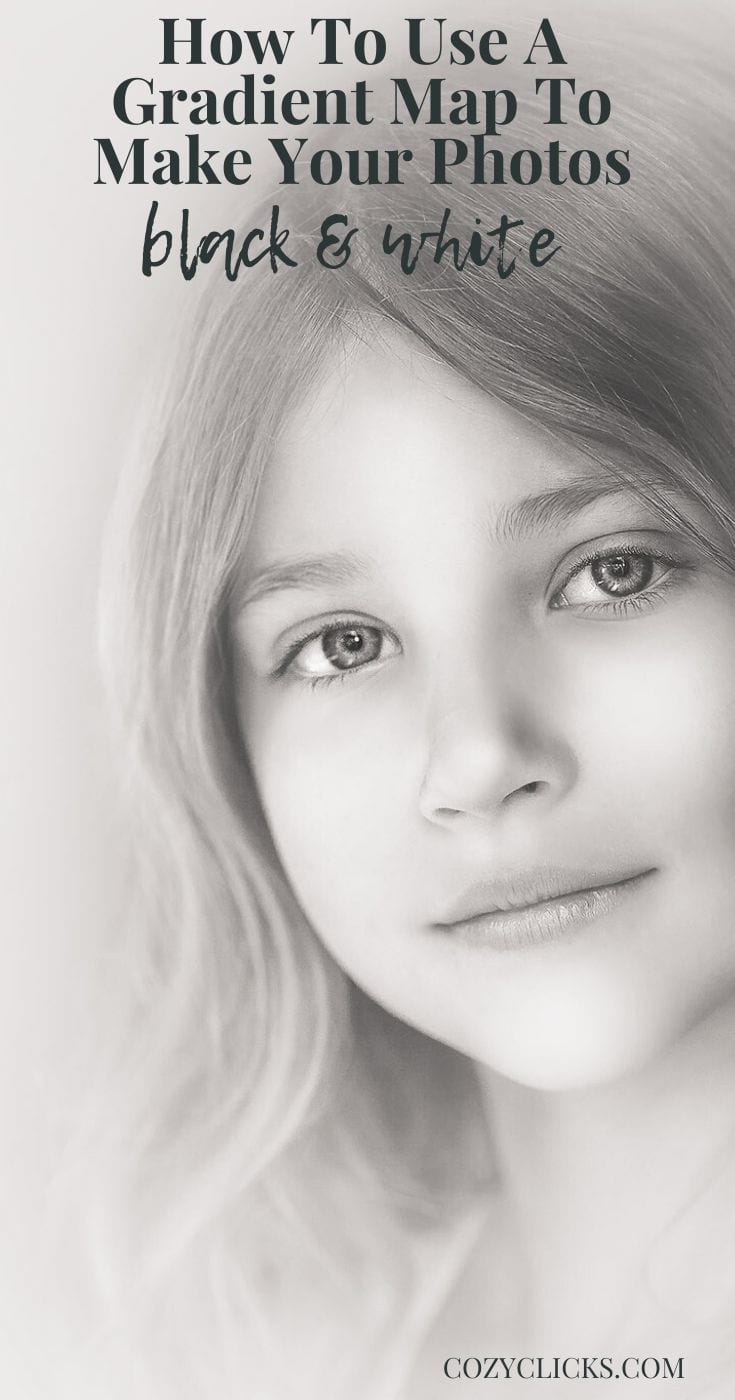
Learn How To Edit in Black and White Using A Gradient Map
First
Choose to gradient map adjustment layer from the adjustment layer panel in the bottom right hand corner.
Then
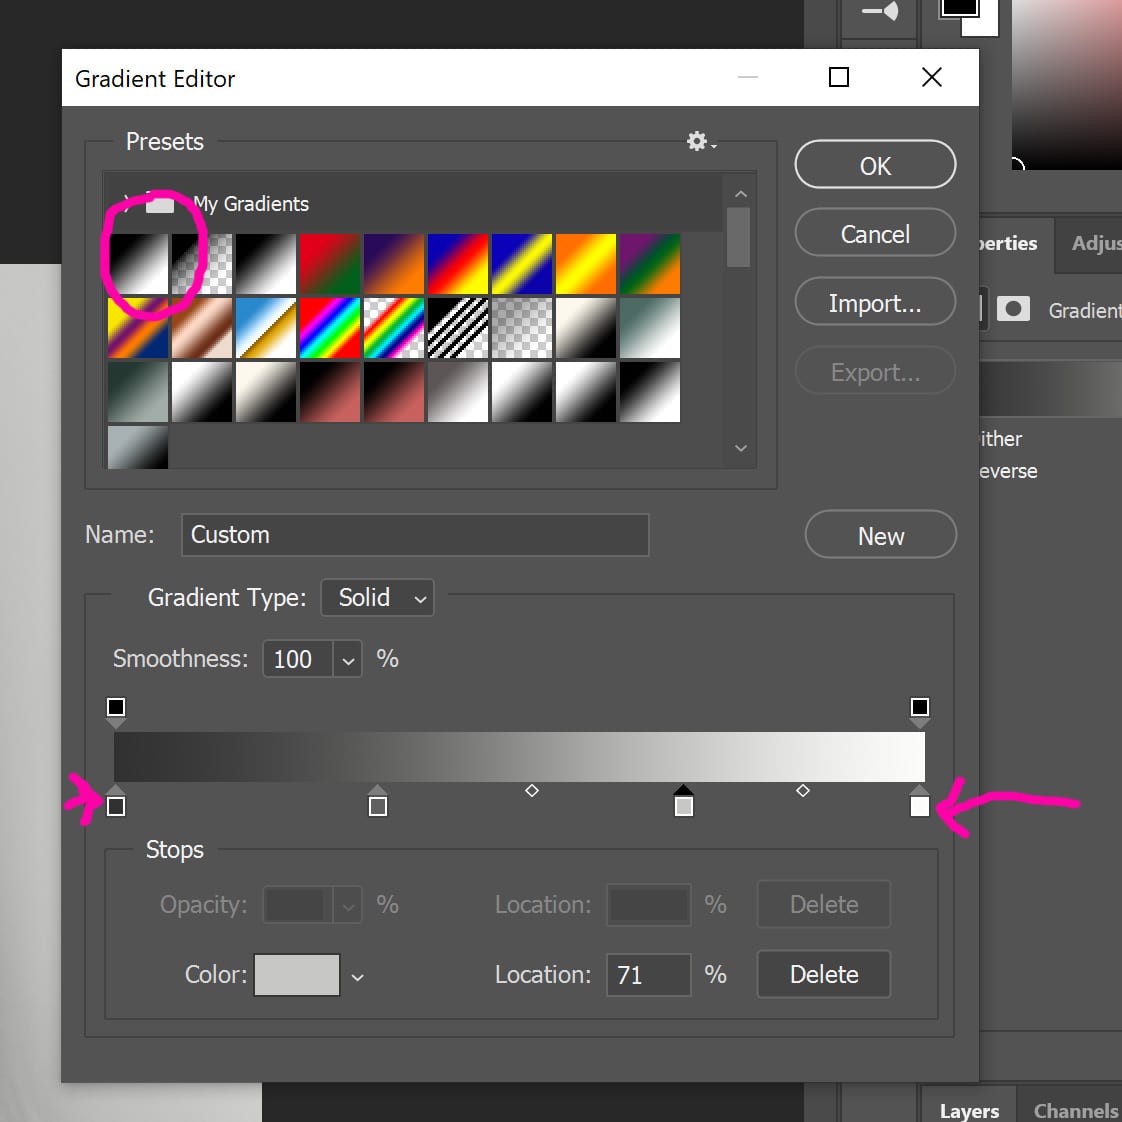
The gradient map pop up will appear . Choose the gradient the goes from black to white to start (it might already be the one the pops up!) If not just double click directly on the gradient to select one of the ones already preset inside of Photoshop.
Next
Click on that black square on the left side of the gradient (see it in the photo above). A color palette will then pop up. Select your dark color from here. That will set the darkest parts of your black and white photo. Want it solid black, keep as is- but you can play around with it to give it more variations! (Look at the photos below)
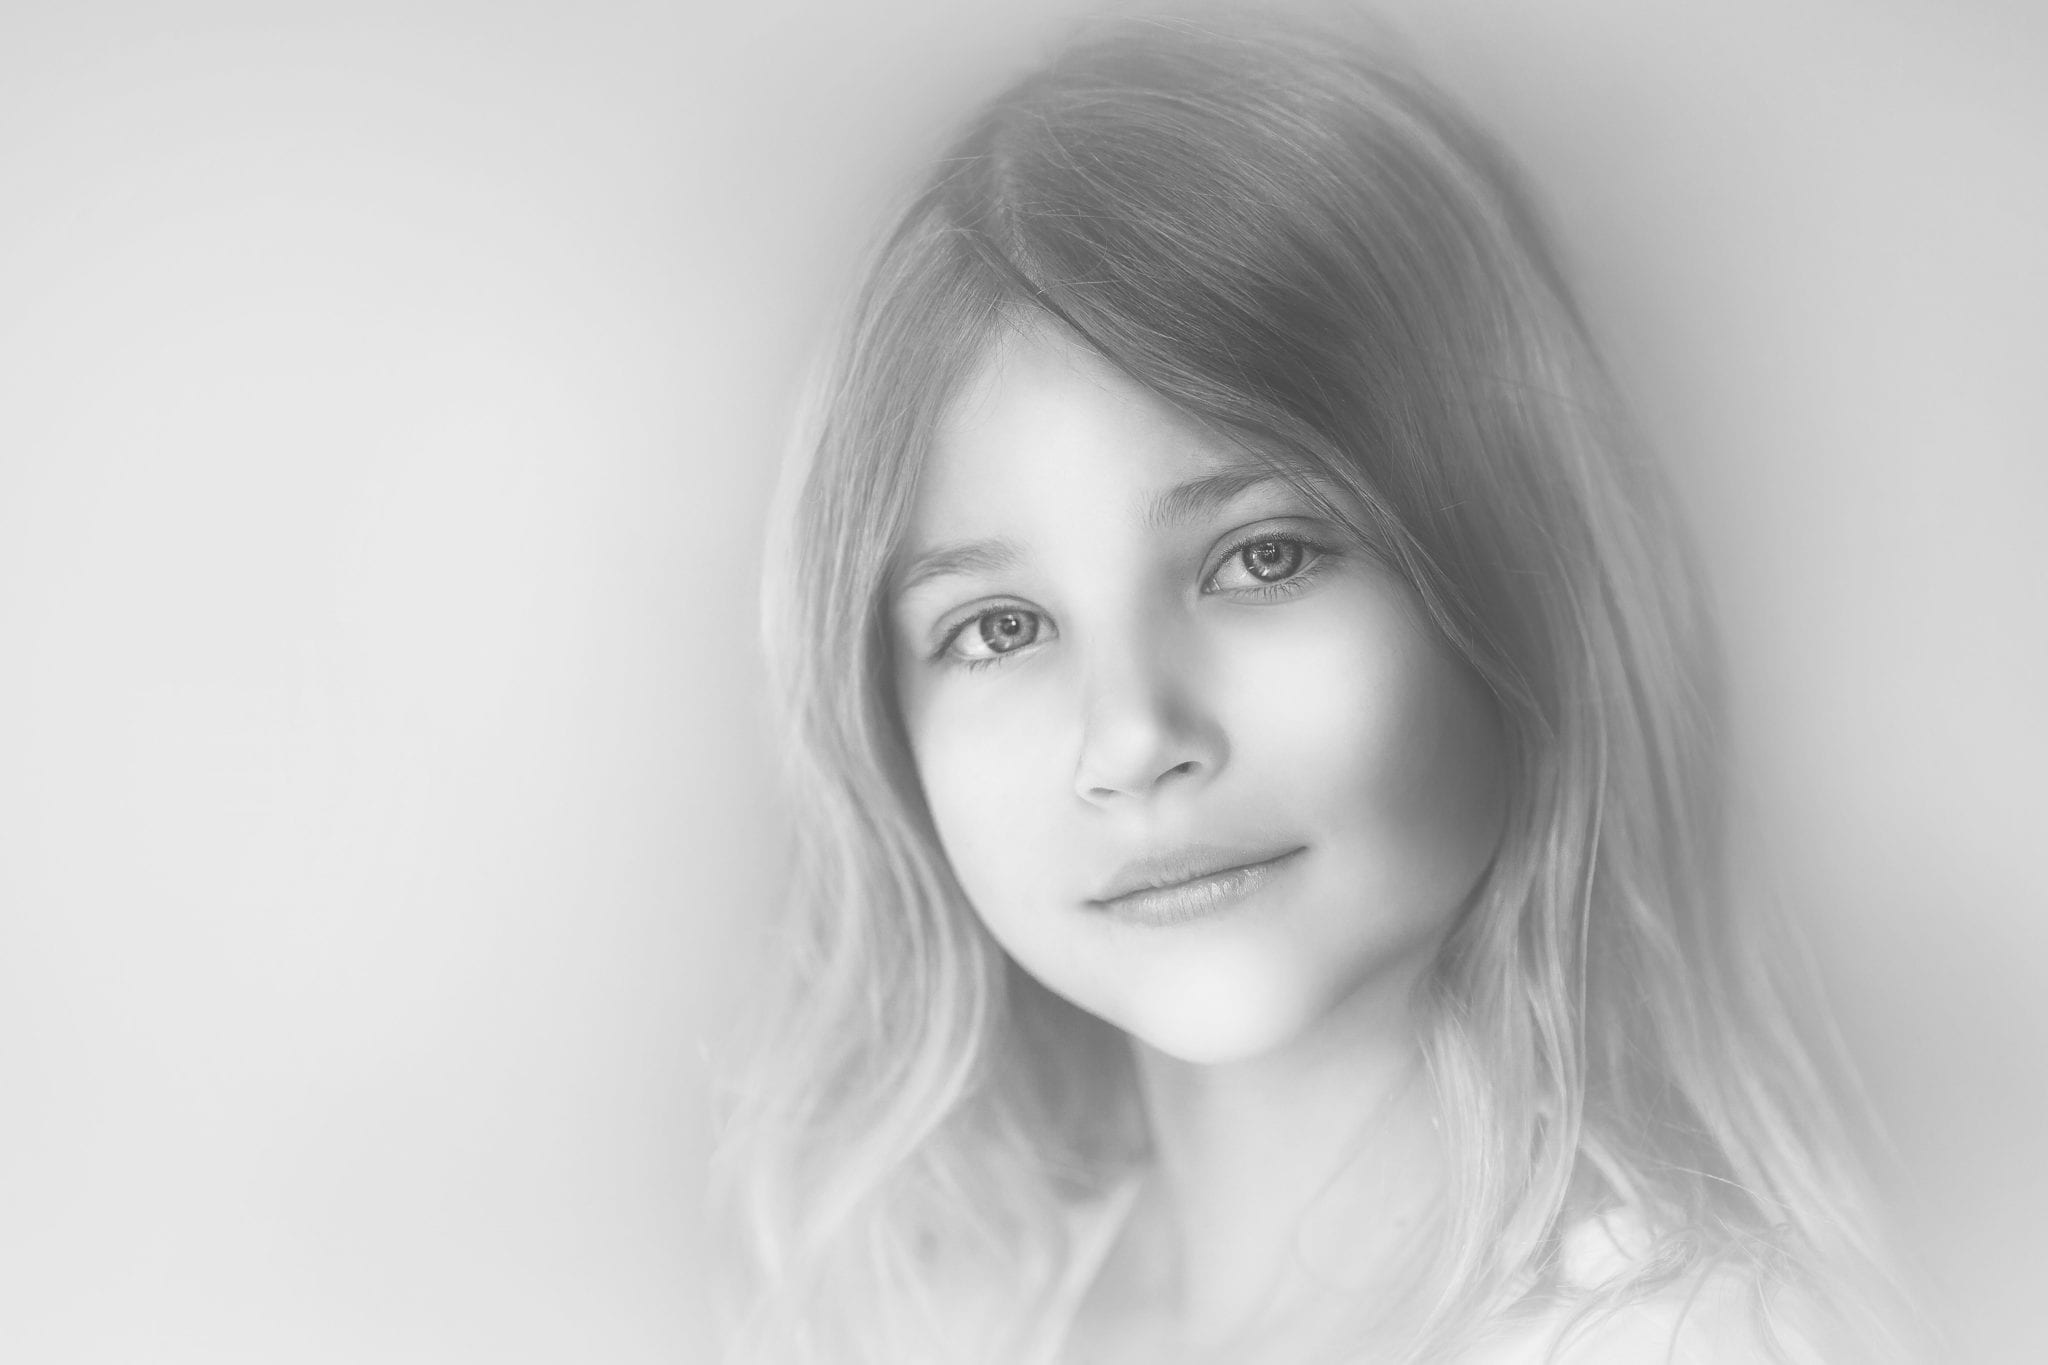
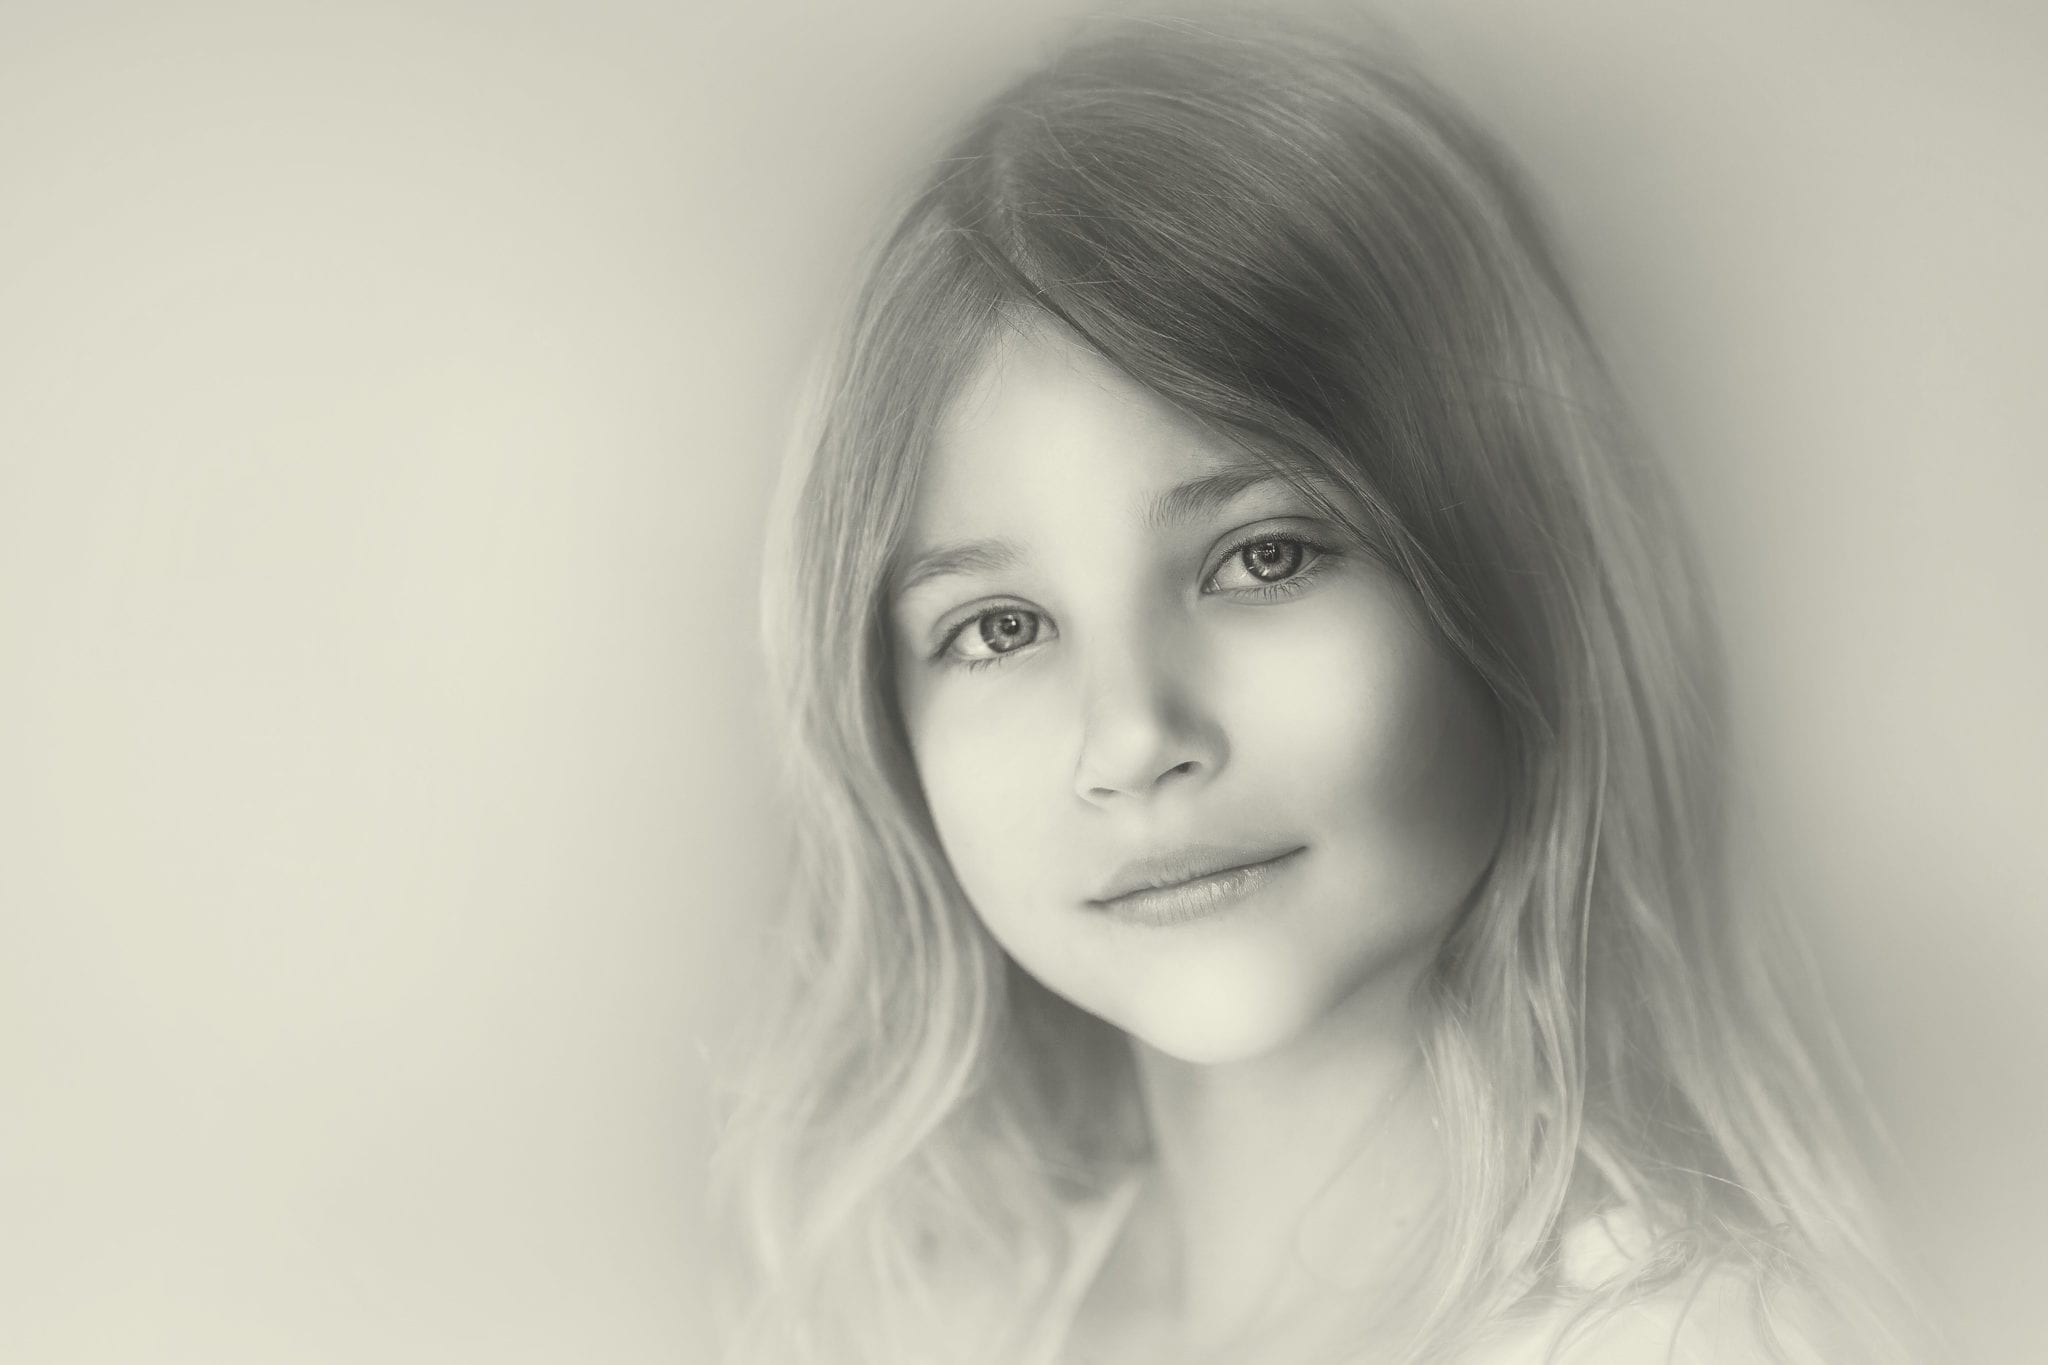
In this first photo I selected a mid tones gray as my dark point (instead of that blackest black) This created a softer black and white.
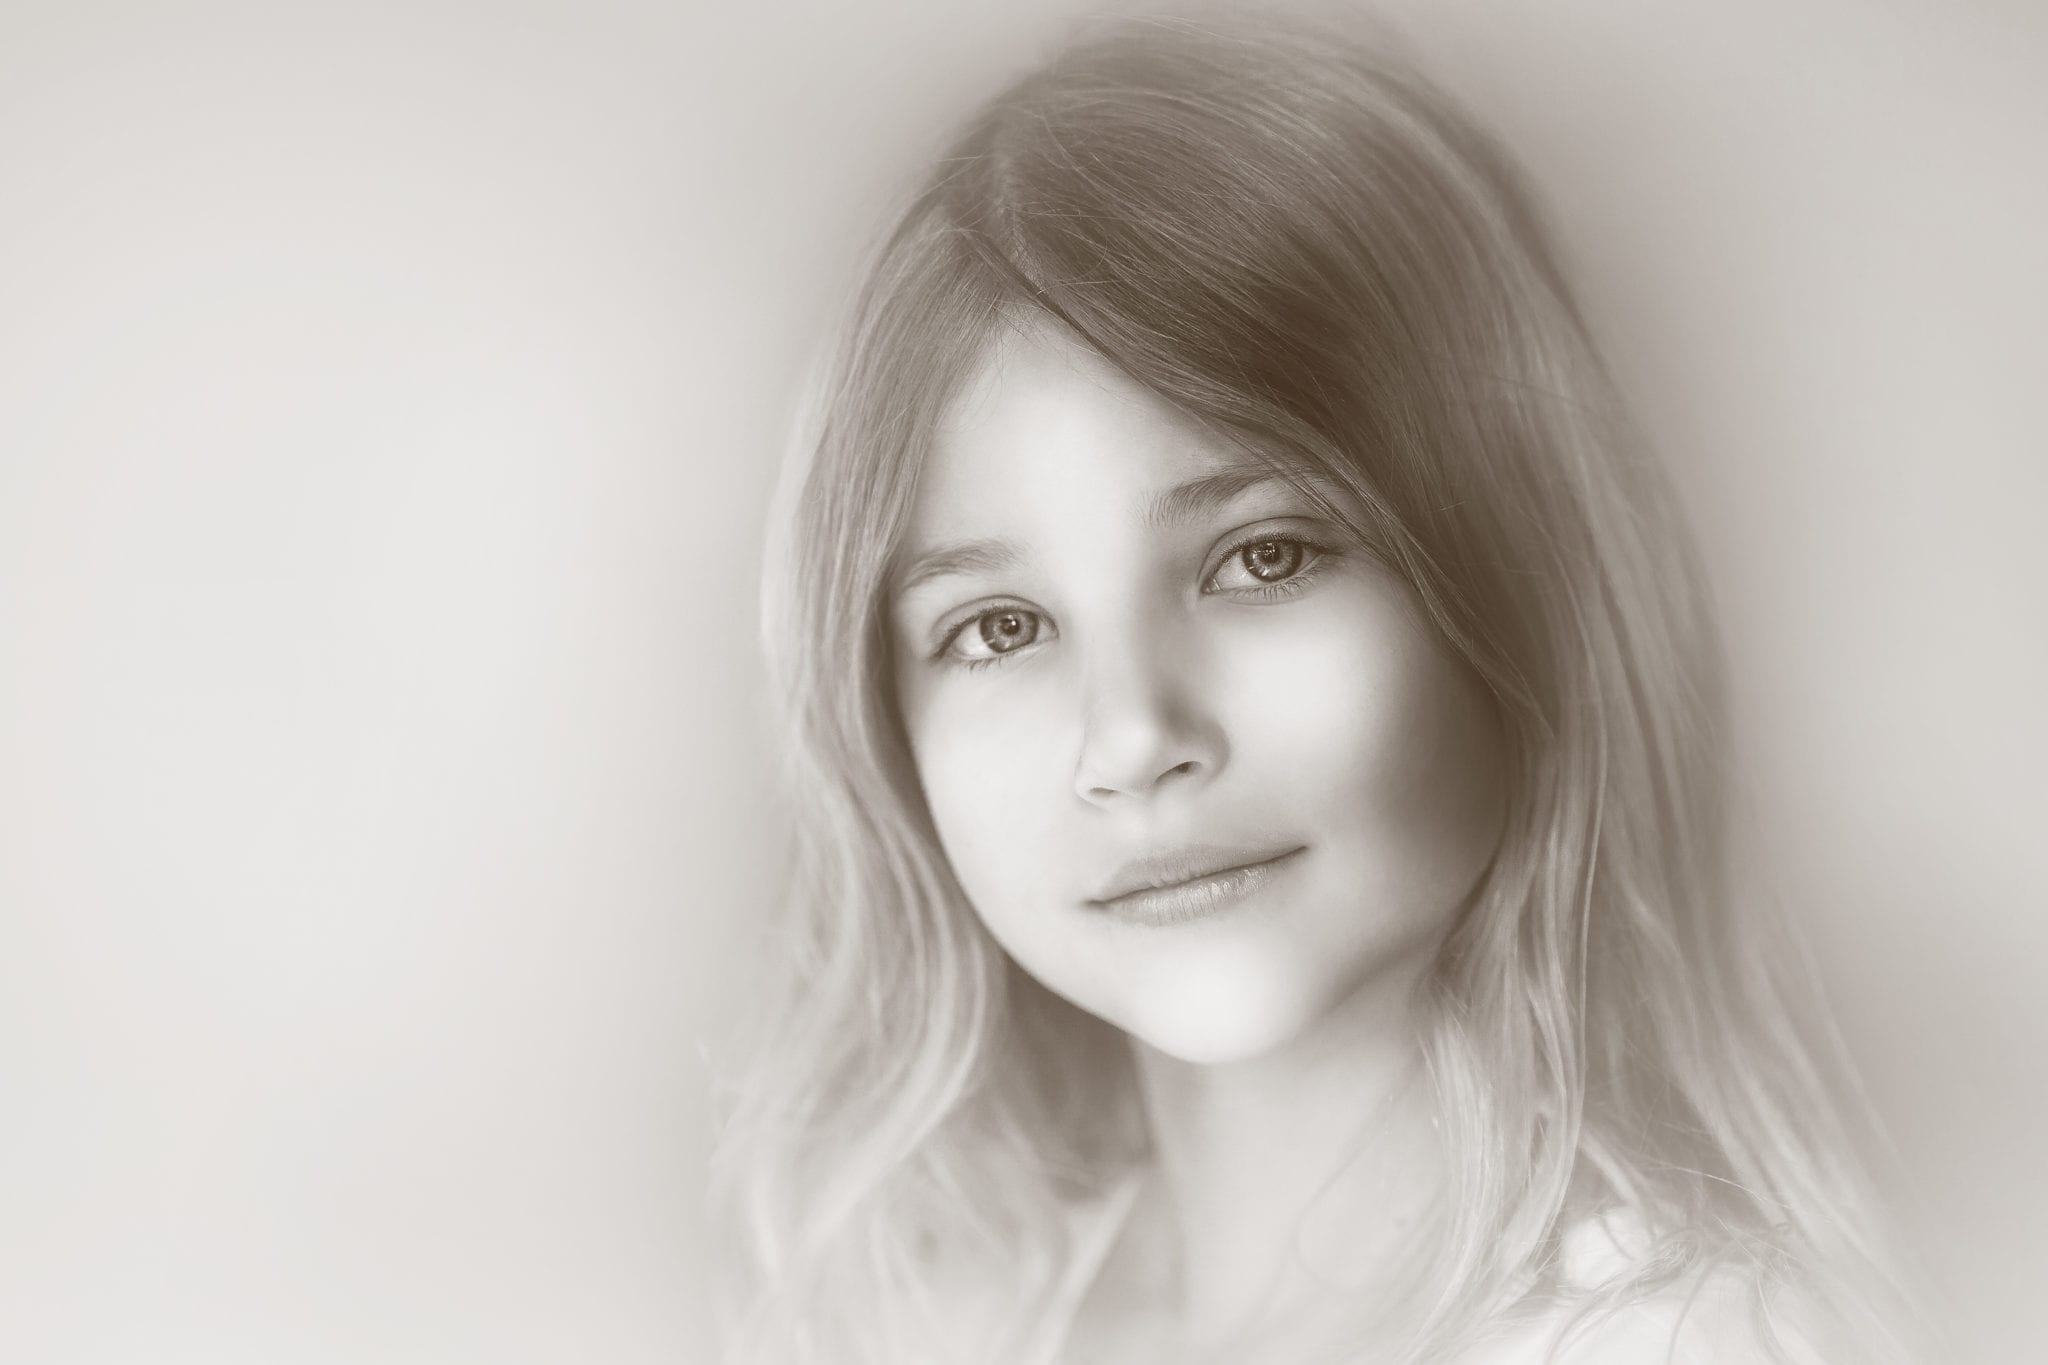
In this photo I just choose a dark color with a little orange- brown in it to add a hit of color to the dark areas.
Then
Do the same thing but this time wiht the white square. This will affect our light, hightlight parts of the image. Want it sold white, just keep as is. But if you want to get a little more creative, choose another color.
In this shot above I selected a very light yellow as my white point to create a different look with my light colors in the image.
RELATED PRODUCT: THE PERFECT PORTRAIT RETOUCHING PHOTOSHOP ACTIONS
Finally
You can leave your black and white image as is with just these two point you worked on, or you can add more to get more control of the look you want! Make sure to watch the tutorial at the beginning of the article for step by step directions on how to accomplish this here + learn one more way to create black and white photos with the gradient map!


Great tutorial. Thank you!. Kobus Smit. South Africa
Hi Thankyou for sharing this tutorial . I learned something new!
Awesome! Happy to help!
I love your tutorials and content! I can’t wait to try this out, thank you so much!
You are so welcome Dalena! Please share with me once you’ve tried it! -Emily