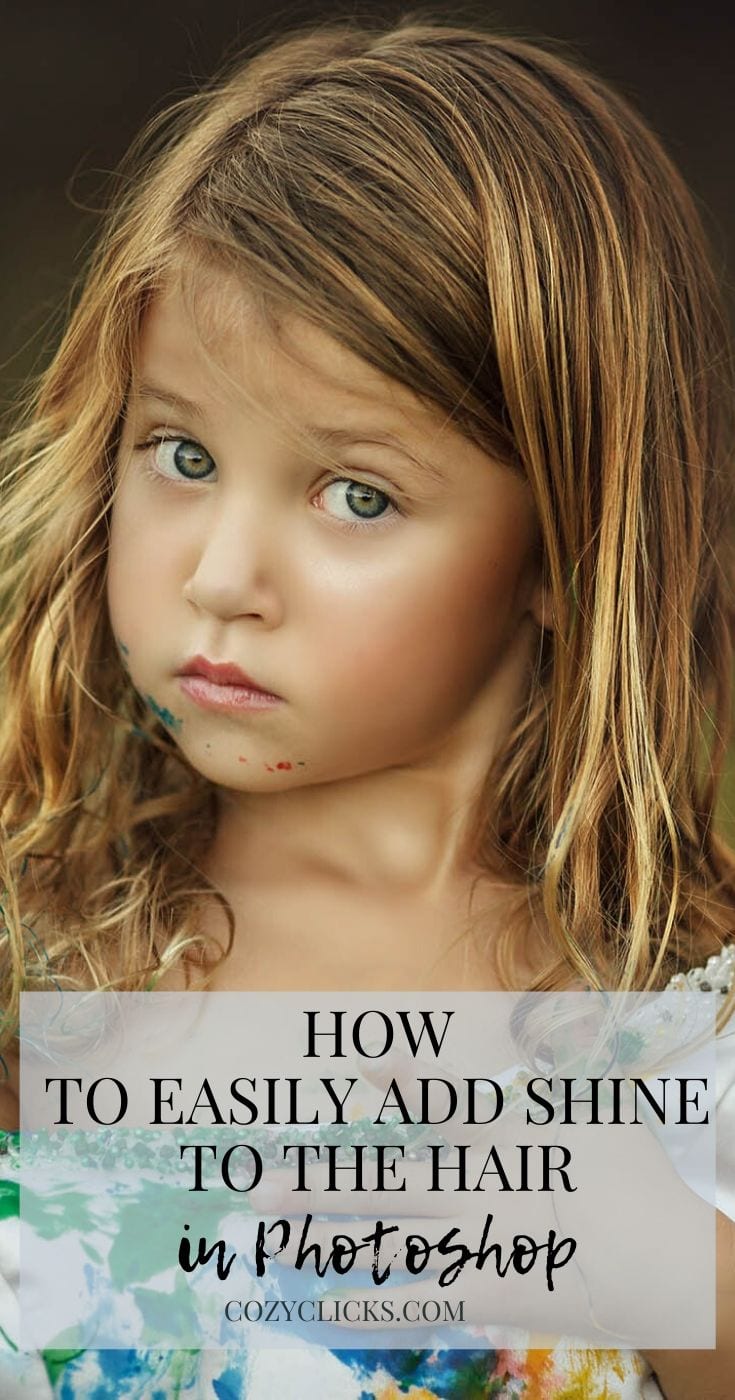
How To Add Shine To The Hair In Photoshop
Hair looking dull? Lack of shine? You could just add extra conditioner, right? But there is an easier way inside of Photoshop! Wanna learn how? Follow this short tutorial to learn how to add shine to the hair inside of Photoshop.
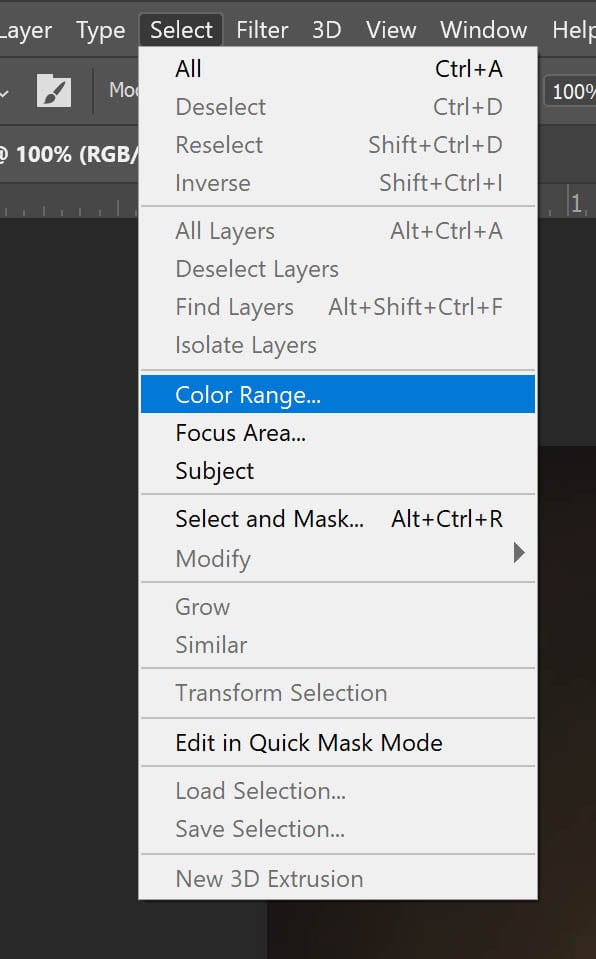
First
Choose “Select” from the top menu and go down to color range
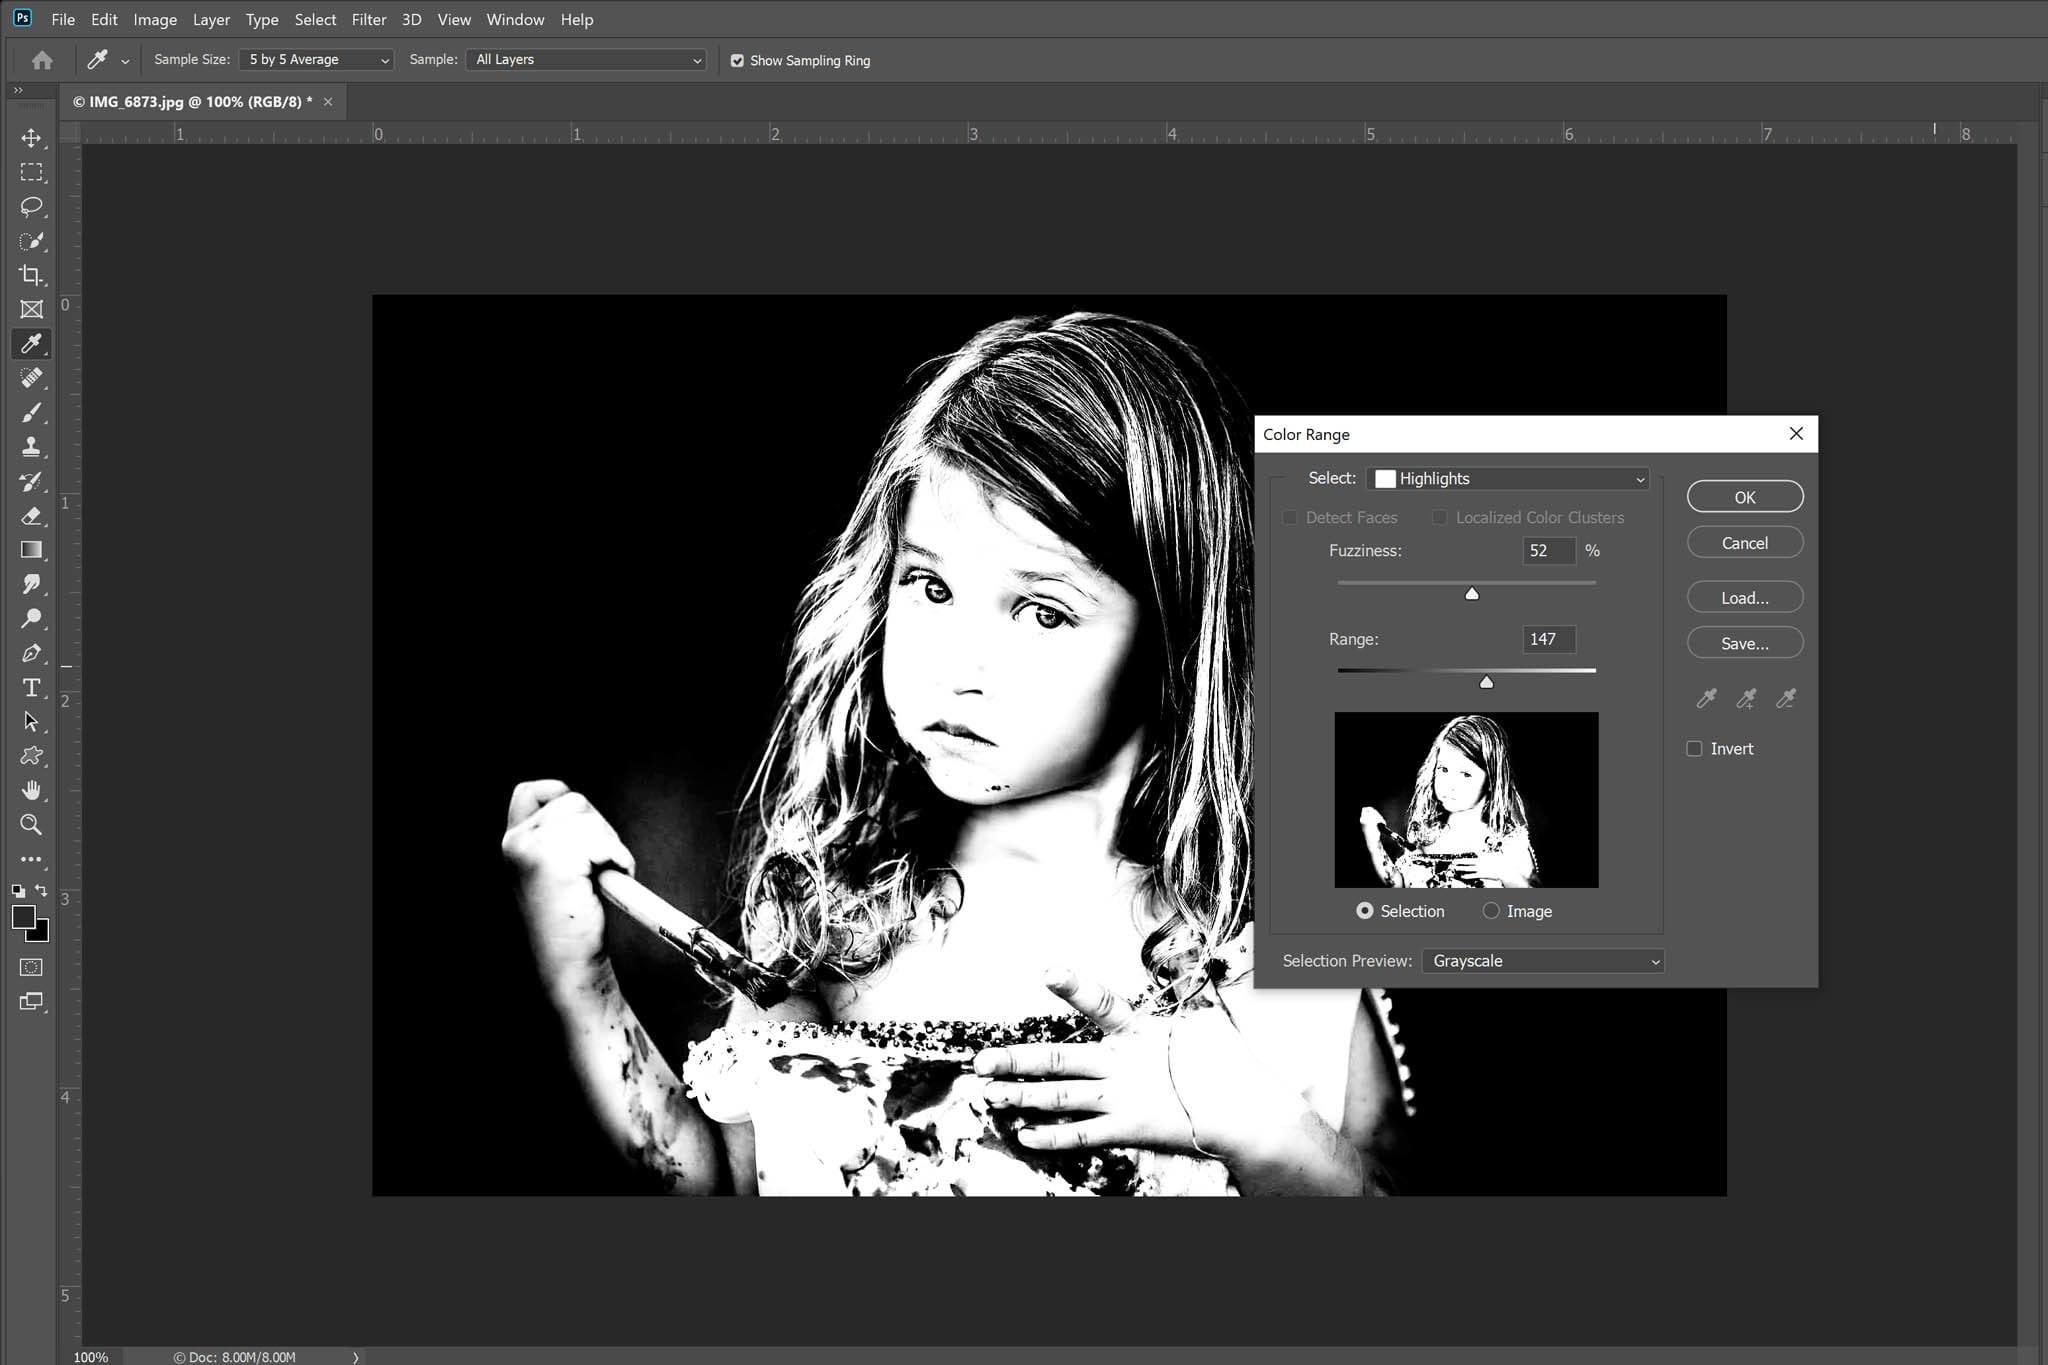
Next
From the drop down menu in the pop up box select “highlights”
Then
Adjust the two sliders (range and fuzziness) paying close attention to the whiteness that pops up in the hair. These values will be different on different photos- there is not a one number that fits all here. (watch the included video for more clarity)
Next
Hit Ctrl+J (or command J on a MAC) to create a new layer that will pull those highlights out. With that layer selected change the blend mode to “screen” .
RELATED ARTICLE: HOW TO USE BLEND MODES IN PHOTOSHOP
Finally
Create a layer mask and invert it by pressing cntl+ I (or command I) With a soft white brush paint on the layer mask the areas of the hair you want highlighted. Lower the opacity of the layer if needed.

And there you have it! All the shine even if you forgot to use that leave in conditioner:)
Still confused? Watch the short video above(I promise it’s quick! Under 4 minutes) And see the steps in action!
If you do try out this tutorial, come follow me and tag me over on Instagram @cozyclicks with a photo you tried it out on. I’d love to see what you create!