
Using an Expodisc to set your white balance can really help you save time in the long run. But how exactly to you use an Expodisc to set white balance? Watch me in action below using a Canon camera (Nikon models may be slightly different) or follow this simple step by step guide!
How To Use An Expodisc to Set your White Balance
1. Make sure you’ve selected an Expodisc that will fit over your camera’s lens. (there are different sizes, so have the one that cover the lens- it’s OK if it’s a bit larger!)
2. Get your camera settings correct on your subject- don’t worry about the white balance setting though- YET!

(The first photo I took above was will automatic white balance. )
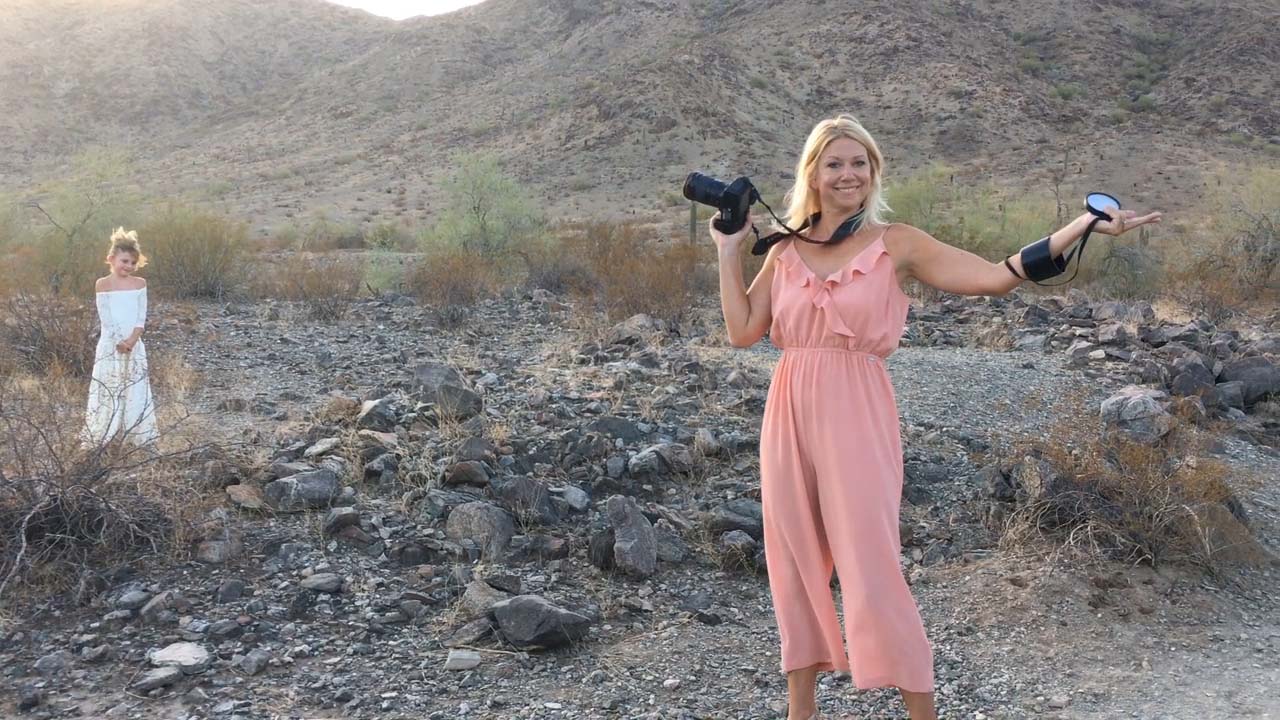
3. Place the Expodisc over the lens and aim it at the light source that is hitting the subject
*** SUPER IMPORTANT*** this will most likely require you to stand right near your subject and face the light source (not face your subject)
4. Take a photo with the Expodisc covering the lens, the photo will look gray. (Make sure your lens hood is off too- you’ll see mine dangling from my wrist;) )

5. Set your white balance in camera based off of that photo.
6. Then you are all set! Step back and take your shot!

(The second one was taken after a white balance reading was taken. Notice that the second shot is a bit warmer that the one taken with auto white balance.)
And there you have it, a step by step guide to setting your white balance using an Expodisc! Do you use an Expodisc to set your white balance? Or do you use a different method? Let us know in a comment below!
And if you do give the Expodisc a try after reading this tutorial, I’d LOVE to see your results! Tag me over on Instagram @cozyclicks, so I can check out your work!


Â
Â