Have a photo with a blown out sky? It’s easy to add in a dreamy sunset to your photo to really give it that extra WOW factor!? Watch and read right here to learn exactly how to use sky overlays to create dreamy sunsets in Photoshop!
1. Open the photo you want to add a sky to
For this tutorial the below photo is the one I’ll be working with.
Â

2. Grab Your Sky Overlay
You can get one from many places. If you have one of your own that you took, use that one. If you’d like to try out some awesome freebies from Morgan Burks Photoshop Resources Shop, you can grab your freebies right here! Or you may have some that you’ve purchased. The one I’m using in this tutorial are from the Cinematic Skies Collection.

3.? Place the Sky Overlay On Your Photo
In Photoshop, go to File>Place Embedded and then choose the folder where your sky overlays are. Click on the one that you want and it will instantly pop up onto your photo.
4. Move the Overlay To Your Desired Position
Use the “move” tool to position your sky.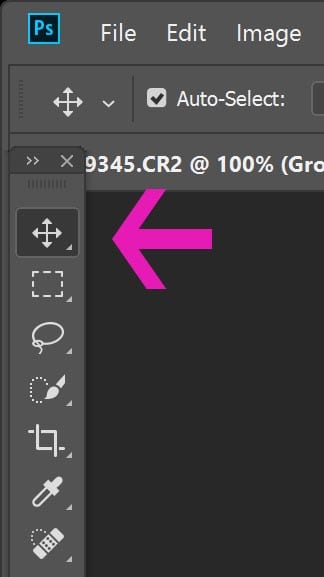
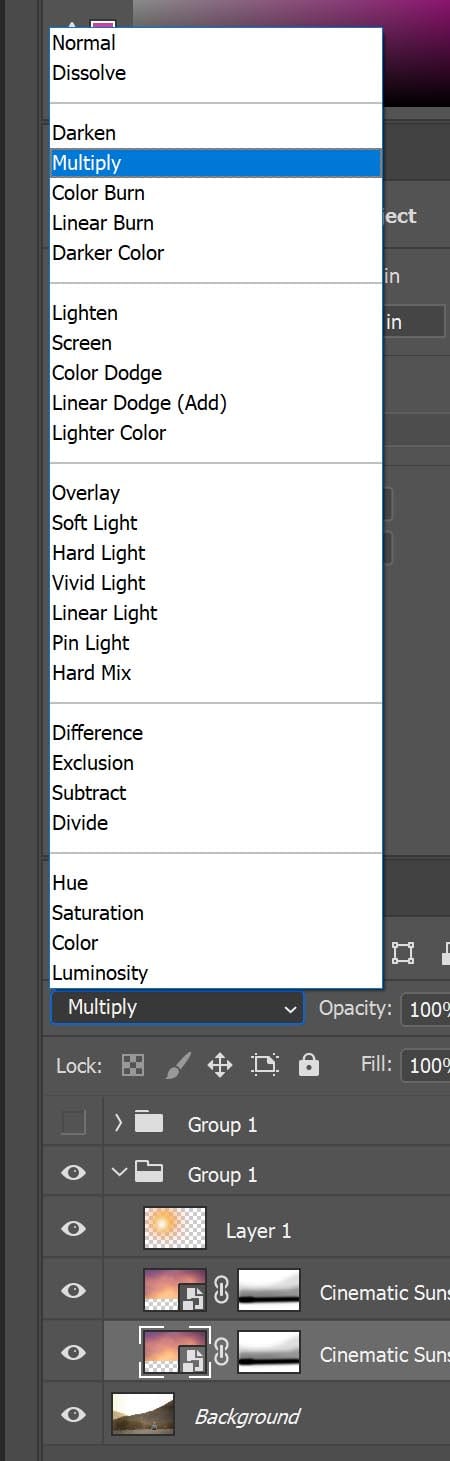
5. Change The Blending Mode Of Your Sky To Multiply
This will allow you to see the skyline and blend in some of the color of your sky to the background making it look more natural.
6. Brush Away Any Harsh Edges
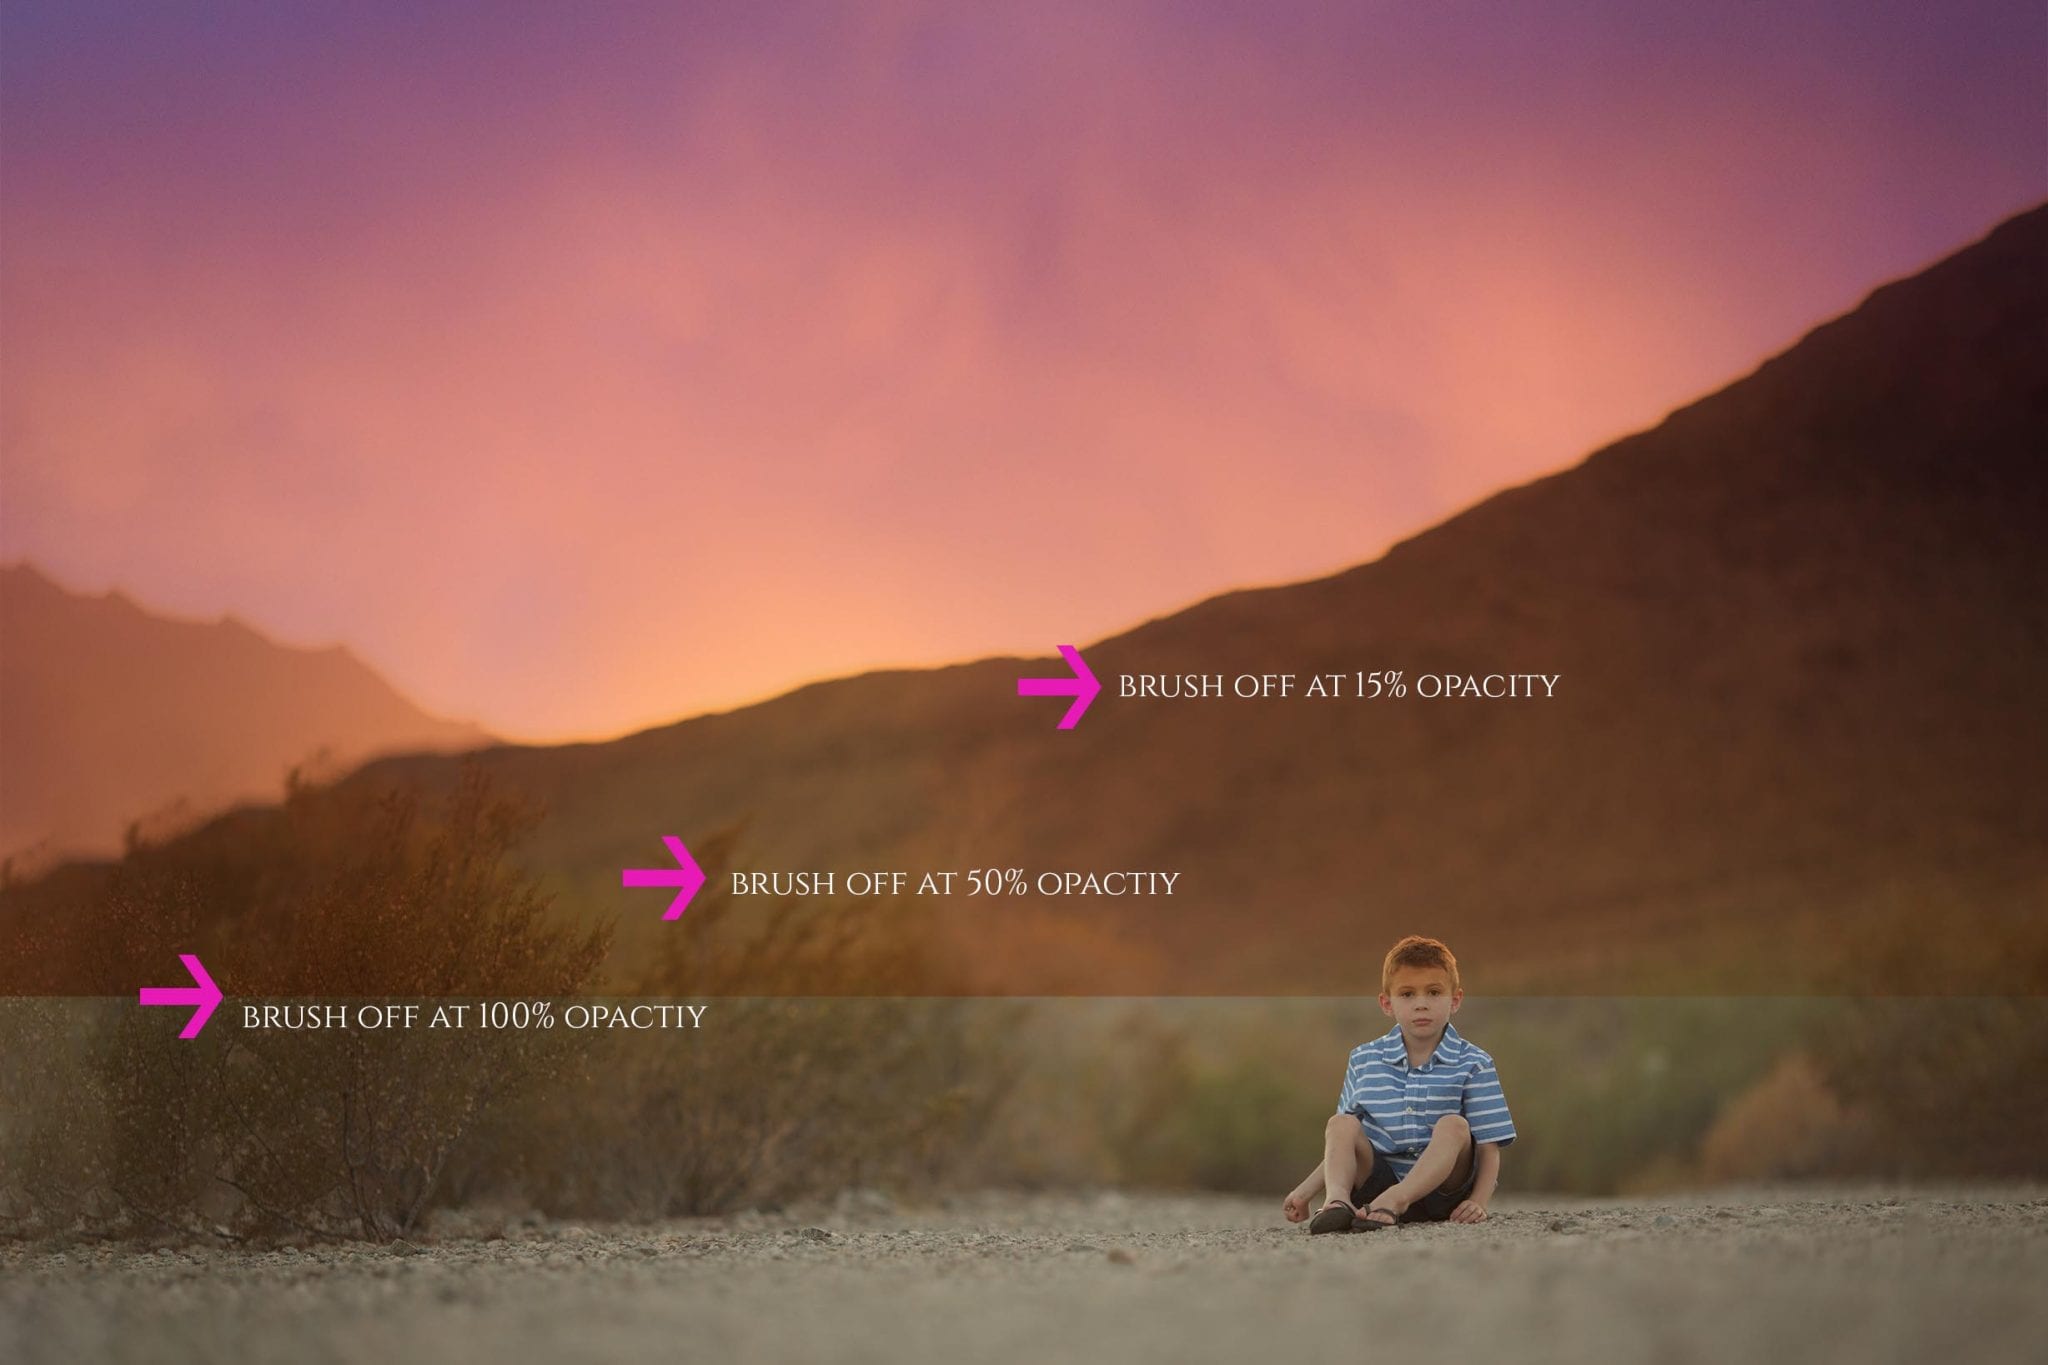
Now this step might be a little tricky and take some practice to get the sky to your liking. First, add a layer mask onto your sky layer. Next take a big, soft, black brush and set the opacity to 100%.Working on that layer mask, brush off any harsh edges (you’ll see that harsh edge in the photo below) .Directly above that brush stroke, brush off more at around 50%, and then finally right at the sky line brush off at around 15%. (Watch the above tutorial for more explanation and see it step by step!) (* note *you could also use a gradient tool here, click here to see how)
7. Adjust the Opacity or Add On!
To make the sky more to your liking you can adjust the opacity of the sky layer (to lighten it), add a duplicate layer of the sky (to make it more dramatic and dark) or add in extra effects (like a sunset- watch the video to see how I did it in my final image!) And there you have it. Below is my final image with a dreamy sunset using a sky overlay!

Hope this helps you add in some dreamy sunsets! If you give this tutorial a try I would LOVE to see how it turns out! If you post a picture over on Instagram make sure to tag me @cozyclicks, so I can check out what you’re creating!

Â
Â
Â